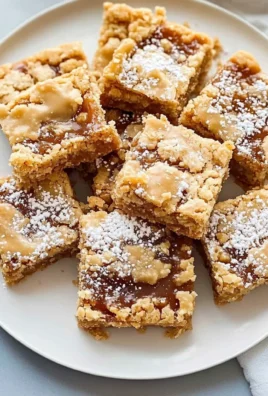
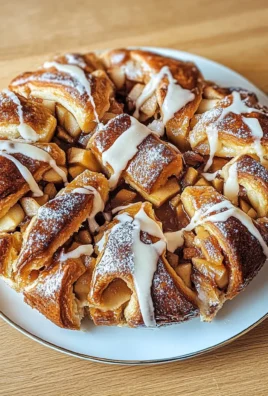
I first stumbled upon the idea of a Berry Cheesecake Cake during a dessert binge at my favorite café. They had this stunning layered creation that looked like it belonged in a magazine, and the moment I took a bite, I was hooked. The combination of rich cheesecake nestled between fluffy cake layers and adorned with vibrant fresh berries was pure bliss! Of course, my wallet didn’t appreciate the frequent visits to indulge in this masterpiece, so I decided to take matters into my own hands and recreate it at home—better and more cost-effective, I hoped!
Let me tell you, perfecting this Berry Cheesecake Cake was no walk in the park. After what felt like an eternity (okay, fine, it was about five attempts), I finally got the balance just right. Each round was an adventure filled with cream cheese miscalculations and cake disasters that would make any baker cringe. But through all the trial and error, I was laser-focused on achieving that ideal texture—fluffy yet rich—and making sure those beautiful berries really shone through. It turns out that even seasoned bakers have their moments of “oops!”
But oh boy, was it worth every mishap! The final result is nothing short of spectacular: a luscious blend of creamy cheesecake enveloped by airy cake layers, all studded with juicy berries that burst with flavor in every bite. The texture is heavenly—think melt-in-your-mouth creaminess paired with just the right amount of fluffiness. If you’re looking for a showstopper dessert that’s both impressive and utterly delicious, then this Berry Cheesecake Cake is calling your name! Trust me; you won’t want to miss out on making this beauty!
These Berry Cheesecake Cake are…
…the ultimate dessert that perfectly marries the creaminess of cheesecake with the lightness of fluffy cake!
1. They explode with a delectable flavor profile that harmonizes the sweetness of fresh berries with a creamy cheesecake filling. The combination of rich cream cheese and a hint of vanilla extract not only elevates the taste but also provides a delightful aroma that beckons you to take another bite.
2. Enjoy an incredible texture that contrasts the soft, airy cake layers with a luscious, smooth cheesecake filling. Each slice offers a satisfying bite where the fluffy cake cradles the creamy filling, creating a delightful melt-in-your-mouth experience that keeps you coming back for more.
3. This recipe employs a key technique by incorporating both baking powder and softened butter, which creates a light and airy cake structure. By properly creaming the butter and sugar before adding eggs and flour, I found it enhances the rise and ultimately results in beautifully tender layers that complement the cheesecake perfectly.
4. A fantastic value option when compared to store-bought desserts, this Berry Cheesecake Cake is not only cost-effective but also offers generous portions for sharing (or indulging alone!). With simple ingredients like all-purpose flour and granulated sugar readily available in most pantries, it’s an accessible treat you can whip up at home without breaking the bank.
PS This Berry Cheesecake Cake yields about 12 generous slices, making it perfect for gatherings or celebrations!
Ingredients for the Berry Cheesecake Cake
Each ingredient in this dish plays an essential role in flavor and texture. Here’s what you’ll need:
2 cups all-purpose flour: Provides structure and a tender crumb to the cake layers.
1 cup granulated sugar: Sweetens the cake and enhances overall flavor.
1 tbsp baking powder: Acts as a leavening agent for a light and fluffy texture.
1/2 tsp salt: Balances sweetness and enhances the taste of other ingredients.
1/2 cup unsalted butter (softened): Adds richness and moisture to the cake.
1 cup milk: Contributes to a moist batter and soft texture.
2 large eggs: Binds the ingredients together and adds richness.
1 tsp vanilla extract: Infuses a warm, aromatic flavor throughout the cake.
16 oz cream cheese (softened): Forms a creamy, rich filling that defines the cheesecake layer.
1/2 cup sour cream: Adds tanginess and enhances the smooth texture of the filling.
1 cup granulated sugar: Sweetens the cheesecake filling while balancing its tanginess.
2 large eggs: Helps set the cheesecake filling, ensuring it holds its shape.
1 tsp vanilla extract: Provides a comforting flavor that complements the cream cheese.
2 cups mixed berries (strawberries, blueberries, raspberries): Adds freshness and vibrant color as a topping.
1/4 cup granulated sugar: Macerates the berries to release their juices for enhanced sweetness.
1 tbsp lemon juice: Brightens the berry topping with a zesty contrast.
The Cake Layers Must Be Cooled Completely — No Skipping This Step!
I know it sounds like a hassle, but trust me when I say that letting the cake layers cool completely is non-negotiable. I tried to rush things once, thinking I’d save time by assembling the cake while still warm — big mistake! The cheesecake filling turned into a gooey mess, and I ended up with a sad, deconstructed cake.
Cooling the layers properly allows them to set up and firm up, which means you won’t have a structural disaster on your hands when it comes time to slice and serve. Think of it like letting a pizza rest before slicing; cutting in too soon means you end up with a greasy, floppy mess instead of that perfect slice.
What does cooling the cake layers do?
- Texture — Cooling helps achieve a more stable crumb structure, preventing the cake from crumbling when sliced.
- Flavor — Allowing the flavors to meld during the cooling process enhances the overall taste of the cake.
- Assembly — A well-cooled layer ensures your cheesecake filling doesn’t melt into oblivion; it stays intact for those beautiful layers.
- Moisture retention — Cooling helps lock in moisture, making each slice tender and preventing dryness.
- Frosting adherence — Cool layers provide a better surface for frosting or toppings, helping everything stay where it’s supposed to be.
Different cooling times
- 10 minutes (fair) — Just enough to handle without burning your fingers but still too warm; expect some slippage of the cheesecake filling.
- 30 minutes (good) — Better structure, less gooeyness; however, this can still lead to slight melting if you’re not careful.
- 1 hour (better) — Perfect for setting; at this point, your layers are stable and ready for assembly without any risk of collapse.
- 2 hours or more (best) — Ideal cooling time allowing complete stabilization and flavor development; your finished cake will have an impressive presentation.
A common mistake is trying to assemble the cake before it’s fully cooled. Do not underestimate how quickly a warm cake can ruin your masterpiece! Trust me on this one—let those layers chill out before you proceed!
How to make Berry Cheesecake Cake

Are you ready to see how straightforward it is to make the Berry Cheesecake Cake of your dreams??
1. PREPARE THE CAKE LAYERS
Let’s kick things off with the cake layers that form the base of this delightful dessert!
1. Preheat – Preheat the oven to 350°F (175°C). Make sure to grease and flour two 9-inch round cake pans so your cakes will slide out easily after baking!
2. Combine – In a mixing bowl, combine the all-purpose flour, granulated sugar, baking powder, and salt. This mix is crucial for creating a light and fluffy cake layer.
3. Mix – Add the softened butter, milk, eggs, and vanilla extract to the dry ingredients. Mix until smooth and well combined; you want that batter to be silky!
4. Divide – Divide the batter evenly between the prepared pans. You can use a kitchen scale if you’re after precision!
5. Bake – Bake for 25-30 minutes or until a toothpick inserted in the center comes out clean. The cakes should be lightly golden on top and spring back when gently pressed.
6. Cool – Let the cakes cool in the pans for about 10 minutes, then transfer them to wire racks to cool completely. This step is essential for avoiding sogginess!
HANDY TIPS
- For easier removal from pans, line the bottoms with parchment paper after greasing.
- If you have leftover batter, you can bake it in a muffin tin for mini cupcakes!
2. MAKE THE CHEESECAKE FILLING
Now we’re moving on to that creamy cheesecake filling that takes this cake over the top!
7. Beat – In a large mixing bowl, beat the softened cream cheese until smooth and creamy — no lumps allowed here!
8. Combine – Add sour cream, granulated sugar, eggs, and vanilla extract to the cream cheese mixture. Mix until everything is well combined and velvety.
9. Layer – Pour the cheesecake filling over one of the cooled cake layers, spreading it evenly all the way to the edges.
10. Top – Place the second cake layer on top of the cheesecake filling gently so as not to disturb it too much.
HANDY TIPS
- Make sure your cream cheese is at room temperature; this helps achieve that perfect smooth texture.
- You could also add a touch of lemon zest for extra zing!
3. PREPARE THE BERRY TOPPING
Let’s get those berries ready for their starring role atop this cake!
11. Combine – In a small saucepan, combine mixed berries (strawberries, blueberries, raspberries), granulated sugar, and lemon juice.
12. Cook – Cook over medium heat until the berries are soft and syrupy — about 5-7 minutes should do it! Stir occasionally to prevent sticking.
13. Cool – Let the berry topping cool slightly before pouring it over your beautiful cake layers. This step helps maintain that fresh berry flavor!
HANDY TIPS
- If using frozen berries, there’s no need to thaw them first; just adjust cooking time as needed.
- For an added twist, consider adding a splash of vanilla extract or a sprinkle of cinnamon while cooking.
4. ASSEMBLE THE CAKE
This is where all your hard work comes together into one stunning dessert!
14. Pour – Pour that gorgeous berry topping generously over the assembled cake; let those vibrant colors shine through!
15. Chill – Chill the cake in the refrigerator for at least 2 hours before serving — this allows everything to set beautifully.
16. Serve – Slice and serve chilled! Enjoy every delicious bite of your creation!
Make this Berry Cheesecake Cake once, and I bet it will become a cherished favorite in your home just like it has in mine! – Nagi x
FAQ – Berry Cheesecake Cake
❓ How long will this cake keep?
The Berry Cheesecake Cake can be stored in the refrigerator for up to 5 days. I recommend enjoying it within the first 3 days for optimal freshness, where it’s still about 97% as good! After that, you might notice a slight decline in texture and flavor, especially due to the cream cheese filling. If you’re planning to keep it longer, I highly advise freezing it instead.
🥶 Can I freeze this cake?
Yes, you can freeze the Berry Cheesecake Cake! To do this effectively:
- Allow the cake to cool completely and chill in the refrigerator for at least 2 hours.
- Wrap it tightly in plastic wrap, then in aluminum foil to prevent freezer burn.
- It can be frozen for up to 3 months.
When you’re ready to serve, thaw it overnight in the fridge before adding the berry topping. Trust me, it’s just as delicious!
⏰ Do I really need to chill the cake before serving?
Absolutely! Chilling is crucial for the best texture and flavor. After assembling your cake and adding the berry topping, refrigerate it for at least 2 hours. This allows the cheesecake filling to set properly and makes slicing easier. Skipping this step may lead to a messy situation when you try to cut into it—believe me, I’ve tried!
🌾 Can I make this cake gluten-free?
Yes! You can substitute all-purpose flour with a gluten-free flour blend in equal amounts. However, ensure that your blend contains xanthan gum or add 1/4 teaspoon per cup of flour if it doesn’t. I’ve tested it this way, and while the texture may vary slightly from traditional flour, it still yields a deliciously moist cake!
🍯 Can I reduce the sugar or substitute with sweeteners?
No, unfortunately, reducing sugar won’t work well here. I’ve tried various alternatives and different ratios countless times—trust me when I say that sugar plays an essential role in both structure and flavor of both the cake layers and cheesecake filling. If you’re looking for a lower-calorie option, consider using a sugar substitute specifically designed for baking; just follow its conversion guidelines.
🧁 Why do I need to beat the cream cheese until smooth?
Beating the cream cheese until smooth is key for achieving a creamy cheesecake filling with no lumps. If it’s not properly mixed first, you’ll end up with a grainy texture that’s far less enjoyable. I found that starting with room temperature cream cheese helps immensely—so don’t skip this step!
🍓 Can I use only one type of berry for the topping?
Of course! While I love using a mix of berries for variety, you can absolutely customize your topping based on what you have on hand or prefer. Strawberries or blueberries work particularly well on their own—just adjust the sugar slightly if your chosen berries are sweeter or tartier than others. Enjoy experimenting with flavors!
Troubleshooting
I will continue to add more to this Troubleshooting section as I start seeing questions coming through from people who have made the recipe.
Troubleshooting tips
“My cake layers are too dry! 😭”
- You might have overbaked the cakes. If you bake them for longer than 30 minutes, they can dry out quickly. Keep an eye on your cakes and check for doneness a few minutes early.
- Another reason could be that you didn’t measure your flour correctly. Too much flour can absorb moisture and lead to dryness. Make sure to spoon the flour into the measuring cup and level it off without packing it down.
- I bet they were still YUM though!
“My cheesecake filling is lumpy! 😩”
- This often happens if your cream cheese wasn’t softened enough before mixing. Cold cream cheese doesn’t blend smoothly, resulting in lumps. Always let it sit at room temperature for at least 30 minutes before using.
- You may have mixed the ingredients too quickly or added them all at once instead of gradually incorporating them. Mixing gently helps create a smooth texture.
- I bet they were still YUM though!
“My cake layers collapsed and are flat! 😱”
- If your batter was overmixed after adding the wet ingredients, it can lead to too much air being incorporated, causing the cake to rise and then collapse in the middle. Mix just until combined!
- Another possibility is that you didn’t properly measure your baking powder. Too little can prevent proper rising; make sure it’s fresh and accurately measured!
- I bet they were still YUM though!
“The top of my cheesecake layer cracked! 😢”
- Cracks often occur when there’s too much heat during baking or if the filling was overmixed, leading to excess air bubbles. Be sure to bake at a lower temperature (like 325°F) for a gentler heat next time.
- When cooling, sudden temperature changes can also cause cracking, so let it cool gradually in the oven with the door ajar before transferring it to a wire rack.
- I bet they were still YUM though!
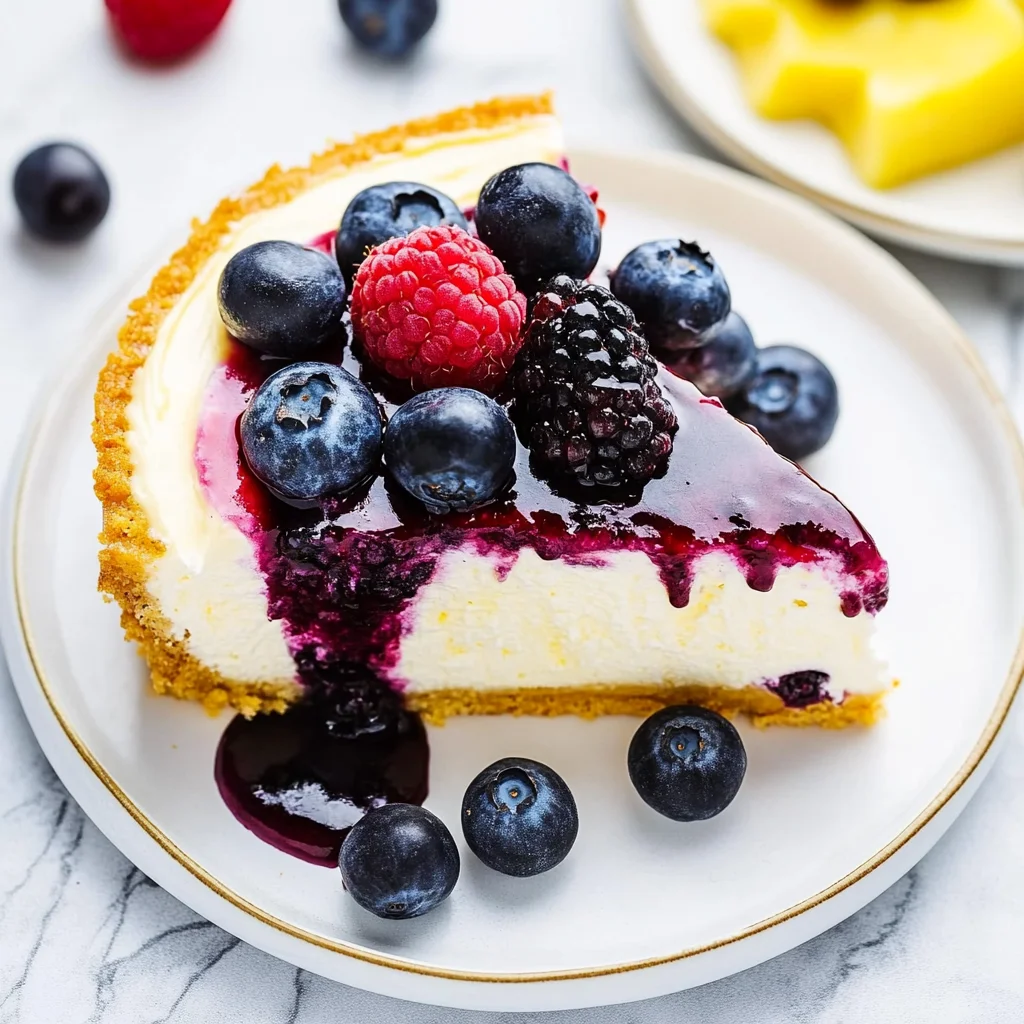
Berry Cheesecake Cake
Ingredients
Method
- Preheat the oven to 350°F (175°C). Grease and flour two 9-inch round cake pans.
- In a mixing bowl, combine flour, sugar, baking powder, and salt.
- Add softened butter, milk, eggs, and vanilla extract. Mix until smooth.
- Divide the batter evenly between the prepared pans.
- Bake for 25-30 minutes or until a toothpick inserted in the center comes out clean.
- Let the cakes cool in the pans for 10 minutes, then transfer to wire racks to cool completely.
- In a large mixing bowl, beat the cream cheese until smooth.
- Add sour cream, sugar, eggs, and vanilla extract. Mix until well combined.
- Pour the cheesecake filling over one of the cooled cake layers.
- Place the second cake layer on top of the cheesecake filling.
- In a small saucepan, combine mixed berries, sugar, and lemon juice.
- Cook over medium heat until the berries are soft and the mixture is syrupy, about 5-7 minutes.
- Let the berry topping cool slightly before pouring it over the cake.
- Pour the berry topping over the assembled cake.
- Chill the cake in the refrigerator for at least 2 hours before serving.
- Slice and serve chilled.