I first stumbled upon the idea of Apple Brownies during a visit to a charming little café that boasted a reputation for creative desserts. As I bit into their decadent treat, the combination of rich chocolate and sweet, tender apples blew my mind! I couldn’t shake off the craving for those brownies, but with a price tag that made my wallet wince, I figured it was time to take matters into my own hands. Plus, there’s something incredibly satisfying about crafting your favorite dessert at home—especially when you can tailor it to be even more delicious!
Let me tell you, perfecting these Apple Brownies was no walk in the park. After six attempts (yes, six—don’t judge!), I was starting to wonder if I’d ever get it right. Each time, I aimed for that ideal balance of moistness and richness while ensuring the apple flavor didn’t get overshadowed by the chocolate. There were times when my brownies turned out more like gooey blobs than the heavenly treats I envisioned, but hey, at least my kitchen got a thorough workout from all that whisking and baking!
But oh boy, was it worth every mishap! The final result is an absolutely delightful treat that’s both moist and fudgy, with luscious bursts of apple sweetness mingling perfectly with rich chocolatey goodness. These Apple Brownies not only boast an irresistible texture but also stay fresh for days—if they last that long! I can’t wait for you to dive into this recipe; trust me, once you’ve had a bite, you’ll be hooked!
These Apple Brownies are…
….the ultimate indulgence for any chocolate and fruit lover!
1. They offer a deliciously rich flavor that harmoniously combines the sweetness of apples and the depth of cocoa. The unsweetened applesauce not only adds moisture but also enhances the overall taste, creating a delightful balance that makes every bite incredibly satisfying.
2. Irresistibly moist texture – these brownies have a tender crumb that melts in your mouth. The combination of vegetable oil and applesauce ensures they remain soft and fudgy, giving you that perfect brownie experience without being overly dense.
3. A key baking technique is the careful mixing of wet ingredients to create a smooth batter before adding in the dry ingredients. This step helps to evenly distribute the flavors and ensures that the brownies rise beautifully, resulting in a light yet decadent treat.
4. Exceptional value for your money – with simple, accessible ingredients like brown sugar and applesauce, these Apple Brownies are not just budget-friendly but also easy to whip up at home. You won’t need to break the bank to enjoy a delicious dessert that rivals anything from a bakery.
PS These brownies yield about 16 generous squares, making them perfect for sharing or enjoying throughout the week!
Ingredients You’ll Need
Each ingredient in this dish plays an essential role in flavor and texture. Here’s what you’ll need:
1 cup unsweetened applesauce: Provides moisture and natural sweetness, enhancing the brownie’s richness.
1/2 cup vegetable oil: Contributes to a tender texture and helps keep the brownies moist.
1 cup brown sugar (packed): Adds deep caramel notes and balances the chocolate flavor beautifully.
2 large eggs: Act as a binding agent, giving structure and richness to the brownies.
1 cup all-purpose flour: Forms the base structure of the brownies, ensuring they hold together well.
1/2 cup cocoa powder (unsweetened): Infuses rich chocolate flavor that complements the apples perfectly.
1 teaspoon baking powder: Helps the brownies rise, giving them a light and fluffy texture.
1/4 teaspoon salt: Enhances all the flavors, making each bite more delicious.
1 cup chopped apples (peeled and cored): Adds bursts of freshness and a delightful texture contrast.
1/2 cup chocolate chips (optional): Introduces additional pockets of melted chocolate for an extra indulgent treat.
Mixing the Wet Ingredients: Don’t Rush This Step!
I have to confess, I thought I could get away with skimping on mixing the wet ingredients for my apple brownies. I tried a shortcut (because who doesn’t love saving time?), and let’s just say the results were less than stellar. The batter ended up uneven, and my brownies had a sad, lumpy texture. Lesson learned: some things are worth taking your time over!
So why is properly mixing these wet ingredients so crucial? Think of it like creating the foundation of a house; if the base isn’t right, everything built on top can crumble. The combination of unsweetened applesauce, vegetable oil, brown sugar, and eggs needs to be smooth and well-blended to ensure even distribution of moisture and sweetness throughout the brownies. This not only helps in achieving that moist texture but also contributes to a rich, harmonious flavor that you just can’t rush.
What does mixing the wet ingredients do?
- Uniform moisture — Properly mixing ensures that all ingredients are evenly distributed, leading to consistent moisture in every bite.
- Enhanced sweetness — Thoroughly blending the brown sugar with the applesauce and oil allows natural sugars to dissolve better, enhancing overall sweetness.
- Improved texture — A smooth mixture helps create a lighter batter that bakes up beautifully, avoiding any dense or gummy spots.
- Better flavor integration — When mixed well, flavors meld together seamlessly, giving each brownie a rich chocolatey taste complemented by apple goodness.
- Even egg incorporation — Adding eggs one at a time and mixing well ensures they emulsify properly into the batter, preventing any eggy pockets after baking.
Different mixing times
- 1 minute (average) — The mixture is somewhat combined but may still have lumps; expect uneven moisture and sweetness in your brownies.
- 2 minutes (good) — A smoother batter begins to form, improving texture slightly but might still miss out on full flavor integration.
- 3 minutes (great) — Considered ideal for this recipe; the mixture should be fully homogenous with no lumps, ensuring optimal moisture and sweetness distribution.
- Beyond 4 minutes (risk of over-mixing) — While you want it smooth, over-mixing can lead to a denser brownie as gluten develops too much.
Don’t make the rookie mistake of rushing through this step! If you skip or skimp on mixing the wet ingredients properly, you’ll end up with brownies that are dry or oddly textured. Trust me; it’s just not worth it!
How to make Apple Brownies
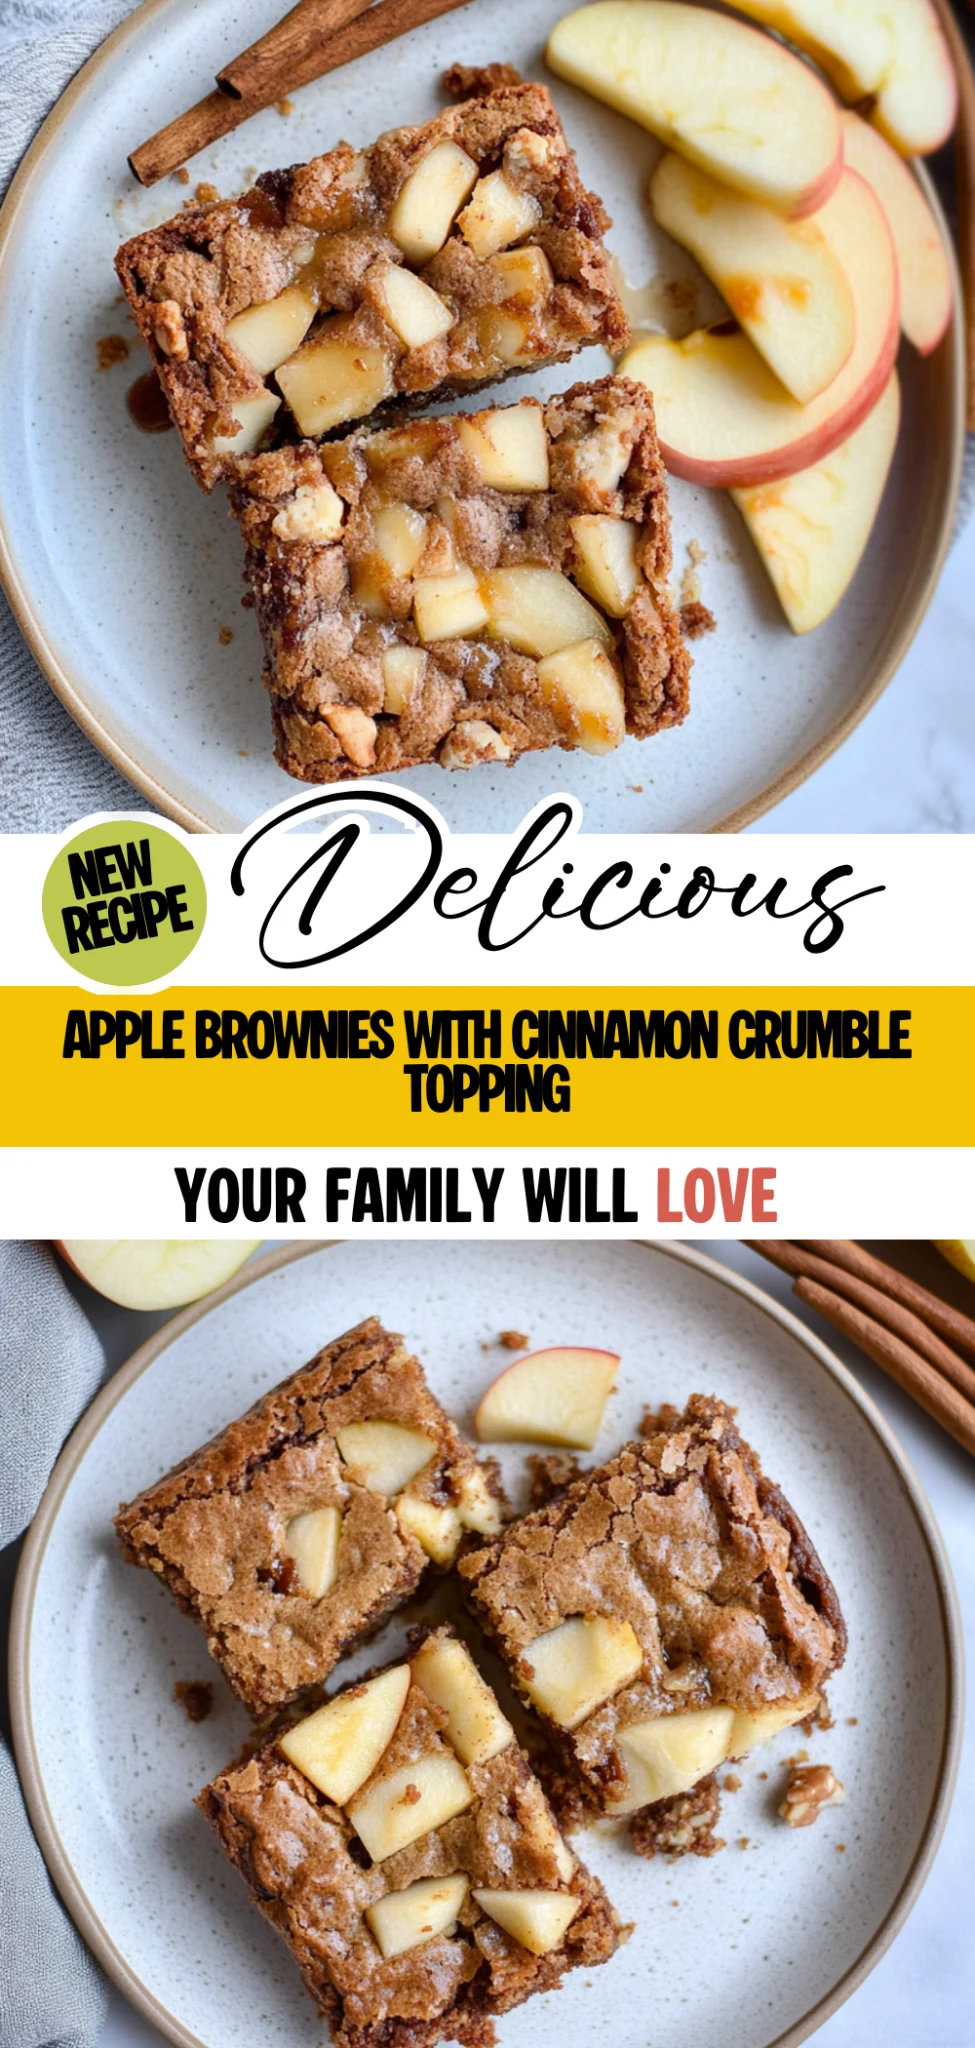
Are you ready to see how straightforward it is to make the Apple Brownies of your dreams??
1. PREPARE THE BATTER
Let’s get that delicious batter ready for baking!
1. PREHEAT – Preheat the oven to 350°F (175°C) and grease a baking pan to ensure your brownies come out smoothly. A well-greased pan will help prevent sticking, which is key for achieving those perfect edges!
2. WHISK – In a mixing bowl, whisk together the applesauce, vegetable oil, and brown sugar until smooth. This combination not only adds moisture but also infuses the batter with rich sweetness—trust me, it’s going to be divine!
3. ADD EGGS – Add the eggs one at a time, mixing well after each addition. This step is crucial as it helps aerate the batter, leading to a light and fluffy brownie texture.
4. COMBINE DRY INGREDIENTS – In another bowl, combine the flour, cocoa powder, baking powder, and salt. Mixing these dry ingredients separately ensures an even distribution of leavening and flavor throughout your brownies.
5. MIX TOGETHER – Gradually add the dry ingredients to the wet mixture, stirring until just combined. Be careful not to overmix; this can lead to denser brownies instead of the moist texture we’re aiming for!
6. FOLD IN APPLES AND CHOCOLATE CHIPS – Fold in the chopped apples and chocolate chips if using. The apples add a lovely moisture and flavor contrast against the cocoa while the chocolate chips bring that irresistible melty goodness.
HANDY TIPS
- Use fresh apples for maximum flavor; Granny Smith or Honeycrisp work wonderfully!
- If you love a richer chocolate flavor, consider adding an extra tablespoon of cocoa powder.
2. BAKE THE BROWNIES
Now comes the magic part—let’s bake those beauties!
7. POUR AND SPREAD – Pour the batter into the prepared baking pan and spread it evenly with a spatula. This helps ensure even cooking so every brownie gets that perfect texture.
8. BAKE – Bake in the preheated oven for 25-30 minutes, or until a toothpick inserted in the center comes out clean. Keep an eye on them towards the end; overbaking can dry them out!
9. COOL – Allow to cool in the pan for 10 minutes before transferring to a wire rack to cool completely. This cooling time helps set their structure while keeping them moist inside.
HANDY TIPS
- For extra fudgy brownies, check them at 25 minutes; they should still be slightly soft in the center when you remove them from the oven.
- If you want a fun twist, try adding nuts or dried fruit along with your apples for added texture!
These Apple Brownies are so easy to whip up—you’ll find yourself making them again and again! Enjoy that delightful blend of chocolate and apple magic in every bite! Make these once, and I wager they will invade your dreams every night too! – Nagi x
FAQ – Apple Brownies
🍏 How long will these apple brownies keep?
These apple brownies can last up to 5 days when stored properly. After the first day, they retain about 97% of their deliciousness, but by day 3, they start to lose a bit of moisture and flavor, dropping to around 90%. To keep them fresh, store them in an airtight container at room temperature or in the fridge if you prefer a denser brownie. Just remember that refrigeration can make them a tad more fudgy!
⏰ Can I skip cooling time before cutting?
Nope! Allowing the brownies to cool for at least 10 minutes in the pan is crucial. If you cut them too soon, they’ll be too soft and may fall apart. This cooling period helps set the structure, making it easier to slice into those perfect squares. Trust me, I’ve made this mistake before, and it was a gooey disaster! 😅
❄️ Can I freeze these brownies for later?
Absolutely! These apple brownies freeze wonderfully. To freeze, let them cool completely after baking, then wrap them tightly in plastic wrap or aluminum foil. Place them in an airtight container or freezer bag for extra protection against freezer burn. When you’re ready to enjoy, thaw them overnight in the refrigerator or pop them in the microwave for a few seconds on low power. They’ll taste just as good as fresh!
🌾 Can these brownies be made gluten-free?
Yes! You can easily make these brownies gluten-free by substituting the all-purpose flour with a gluten-free flour blend. Many readers have successfully used brands like Bob’s Red Mill 1-to-1 Gluten-Free Baking Flour without any issues. Just be sure that your cocoa powder is also gluten-free (most are)! The texture might be slightly different but still deliciously moist.
🔄 Can I substitute applesauce with something else?
While I love the moisture applesauce provides, you can use mashed bananas or even pumpkin puree as alternatives if you’re looking for a twist or if you’re out of applesauce. Keep in mind that using bananas will impart some banana flavor into your brownies, while pumpkin will add a hint of warmth from its spices. Experimenting is half the fun!
🥄 Why do we fold in the chopped apples instead of mixing vigorously?
Folding gently is key to maintaining the delicate texture of your brownies. By folding in the chopped apples, you ensure they’re evenly distributed without overmixing the batter, which can lead to dense and tough brownies. Plus, you want those juicy apple bits intact for delightful bites throughout your brownie! Trust me; gentle hands yield better results!
🧪 How many times did you test this recipe?
Honestly? I tested this recipe over ten times to get it just right! Each time was an experiment with ingredient ratios and baking times until I found that perfect balance between moistness from the apples and richness from the chocolate. It’s my obsession—err… hobby—to ensure every batch turns out perfectly delicious!
Troubleshooting
I will continue to add more to this Troubleshooting section as I start seeing questions coming through from people who have made the recipe.
Troubleshooting tips
“My brownies came out too thin! 😱”
- You might have used a baking pan that was too large. A larger pan spreads the batter out more, resulting in thinner brownies. Make sure to use a pan size specified in the recipe for the best results.
- Another reason could be not measuring your flour accurately. Too little flour can lead to a runny batter that doesn’t hold its shape when baked. I recommend using a kitchen scale or spooning flour into the measuring cup for accuracy.
- I bet they were still YUM though!
“My brownies turned out too dry! 😩”
- If you overbaked your brownies, they can become dry and crumbly. Keep an eye on them during the last few minutes of baking and do the toothpick test for doneness—remove them when the toothpick comes out with a few moist crumbs.
- Using too much cocoa powder can also dry out your brownies, especially if it’s packed in tightly. Be sure to measure it correctly, as per the recipe.
- I bet they were still YUM though!
“The top of my brownies cracked! 😳”
- Cracking can occur if your oven temperature is too high. It’s essential to preheat your oven accurately and consider using an oven thermometer for precise baking temperatures.
- Overmixing the batter once you add the dry ingredients can lead to air bubbles that expand too quickly during baking, causing cracks on the surface. Mix just until combined for best results!
- I bet they were still YUM though!
“My brownies are way too soft in the middle! 🤦♀️”
- Underbaking is often the culprit here; if you didn’t bake them long enough, they’ll remain gooey in the center. If your toothpick comes out with wet batter instead of moist crumbs, give them a few more minutes in the oven.
- Also, ensure that you’ve used enough binding ingredients like eggs and flour; insufficient amounts can result in overly soft brownies.
- I bet they were still YUM though!
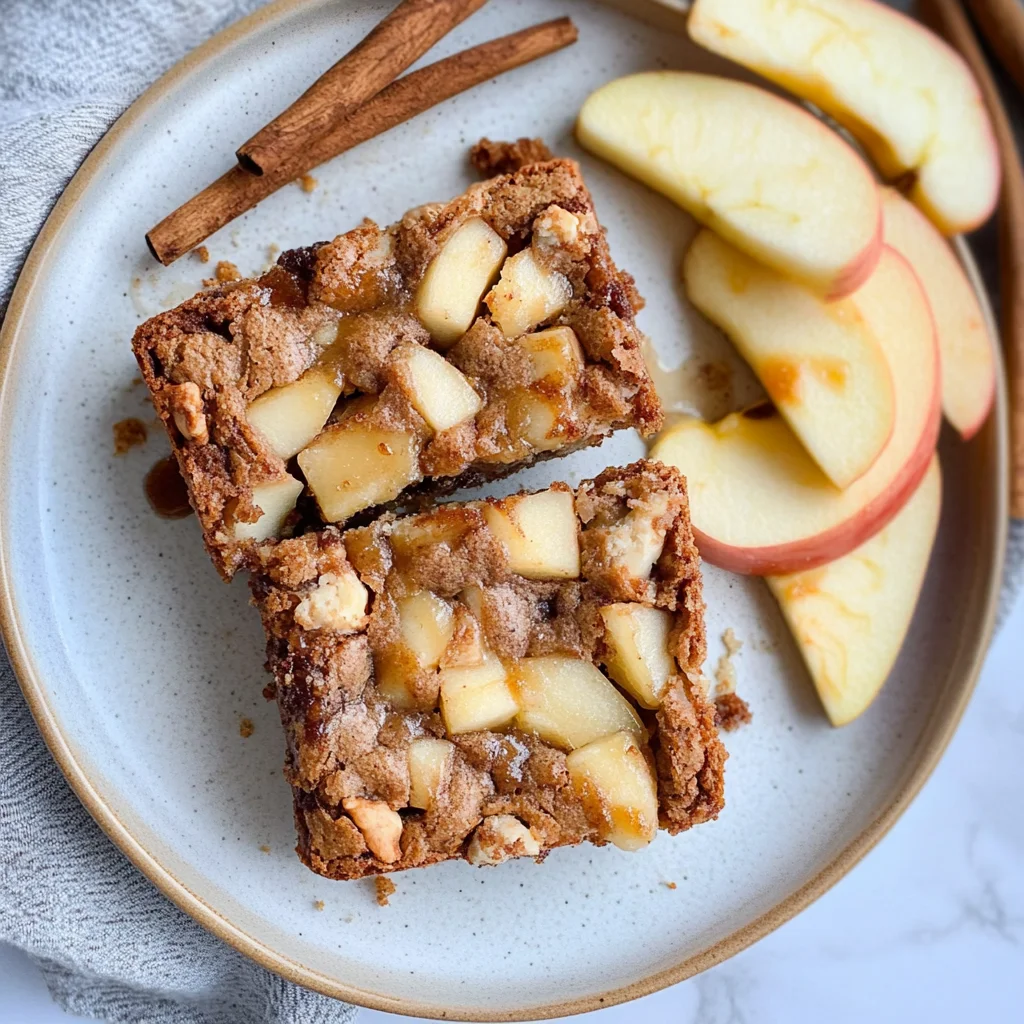
Apple Brownies
Ingredients
Method
- Preheat the oven to 350°F (175°C). Grease a baking pan.
- In a mixing bowl, whisk together the applesauce, vegetable oil, and brown sugar until smooth.
- Add the eggs one at a time, mixing well after each addition.
- In another bowl, combine the flour, cocoa powder, baking powder, and salt.
- Gradually add the dry ingredients to the wet mixture, stirring until just combined.
- Fold in the chopped apples and chocolate chips if using.
- Pour the batter into the prepared baking pan and spread evenly.
- Bake in the preheated oven for 25-30 minutes, or until a toothpick inserted in the center comes out clean.
- Allow to cool in the pan for 10 minutes before transferring to a wire rack to cool completely.