I first fell in love with pumpkin pancakes during a cozy brunch outing at a charming little café that had a line out the door. Each bite was like a warm hug, infused with spices and that lovely autumn flavor that made me feel all the seasonal feels. I knew I had to recreate that magic at home — not only to save a few bucks but also to indulge my desire for fluffy, homemade goodness anytime I wanted. Plus, let’s be honest, there’s something incredibly satisfying about nailing a recipe that leaves you feeling like a kitchen wizard.
Perfecting this Pumpkin Pancakes Recipe wasn’t exactly smooth sailing — it took me about five tries to get it just right! With each attempt, I found myself tossing pancakes into the trash more often than not, adjusting the spices and tweaking the batter until it was fluffy enough to rival those café creations. I aimed for that perfect balance of pumpkin flavor and spice without compromising on texture — too dense, and it felt like eating a brick; too light, and I was left yearning for more substance. Let’s just say my family became very familiar with pancake breakfasts during my testing phase!
But oh boy, was it worth every flop! The final result is a stack of fluffy pumpkin pancakes that are as visually appealing as they are delicious. They boast a dreamy lightness with just the right amount of spice, making them perfect for an indulgent breakfast or brunch treat. You’ll love how they soak up syrup while still holding their shape, creating an irresistible harmony of flavors and textures. So grab your mixing bowl and let’s make some magic happen — you’re going to fall head over heels for these!
These Pumpkin Pancakes are….
….the ultimate cozy breakfast that will warm your soul and delight your taste buds!
1. They deliver a deliciously spiced flavor that perfectly captures the essence of fall. With the combination of ground cinnamon and nutmeg, each bite is infused with aromatic warmth that elevates the pumpkin’s natural sweetness, making this Pumpkin Pancakes Recipe truly irresistible.
2. Incredible fluffiness – these pancakes are light as air! The baking powder works its magic, creating a perfect rise that results in soft, pillowy pancakes, while the pumpkin puree adds moisture without weighing them down.
3. They showcase a simple yet effective cooking technique that elevates the classic pancake experience. By melting butter before adding it to the batter, you not only enrich the flavor but also ensure a beautifully golden crust on every pancake, giving them an appealing look and taste.
4. An unbeatable value for money – you can whip up a stack of these delicious pancakes at home for a fraction of what you’d pay at a café. Using basic ingredients like flour, sugar, and canned pumpkin puree means you can enjoy gourmet-quality pancakes without breaking the bank!
PS These pancakes are thick and fluffy, just how I like them! Perfect for stacking high and drenching in maple syrup or your favorite toppings.
Ingredients for the Pumpkin Pancakes
Each ingredient in this dish plays an essential role in flavor and texture. Here’s what you’ll need:
1 cup all-purpose flour: Provides the structure and base for fluffy pancakes.
2 tbsp brown sugar (packed): Adds a rich sweetness that complements the pumpkin.
1 tbsp baking powder: Creates lift, ensuring the pancakes are light and airy.
1 tsp ground cinnamon: Infuses a warm, inviting spice that enhances the pumpkin flavor.
1/2 tsp ground nutmeg: Contributes a subtle earthiness that rounds out the spices beautifully.
1/2 tsp salt: Balances sweetness and enhances overall flavor.
1 cup pumpkin puree (canned or fresh): Delivers moisture and a lovely pumpkin essence.
1 cup milk (any type): Ensures the batter is smooth and helps achieve the perfect pancake consistency.
1 large egg: Binds ingredients together and adds richness to the pancakes.
2 tbsp melted butter (plus extra for cooking): Introduces a delightful buttery flavor and helps with browning.
Don’t Overmix the Batter! Trust Me on This One
I’ll be honest: I tried to cut corners with this step, thinking a little extra mixing wouldn’t matter. Spoiler alert: I was wrong. After several batches of dense, sad pancakes, I learned that taking the time to gently combine the ingredients is non-negotiable for achieving that perfect fluffy texture we all crave.
So why is this “just-mixed” approach so crucial? When you mix your batter too vigorously, you activate the gluten in the flour. Think of it as stretching a dough; if you stretch it too much, it becomes tough. For our pumpkin pancakes, we want a light and airy result — not a chewy mess! By stirring until just combined (lumps are totally okay!), you keep gluten formation in check, resulting in those dreamy, fluffy pancakes.
What does avoiding overmixing do?
- Fluffiness — The batter retains air pockets that create lightness during cooking.
- Tenderness — Less gluten means softer pancakes that melt in your mouth rather than chew like rubber.
- Even Texture — You’ll avoid those weird lumps of flour or overly dense spots that can occur with excessive mixing.
- Moisture Retention — A gentler mix helps maintain moisture from the pumpkin puree and milk, giving you perfectly moist pancakes.
- Balanced Flavor — Overmixed batter can lead to uneven baking, which affects how flavors meld together from the spices and brown sugar.
Different Mixing Times
- 1 minute (good) — Barely mixed; some lumps remain. You’ll get decent pancakes but they won’t be as fluffy as they could be.
- 2 minutes (better) — Better combined; some small lumps still present. Fluffiness improves noticeably!
- 3 minutes (best) — Just mixed; no dry flour visible. This yields pancakes that are airy and tender!
- Beyond 3 minutes (diminishing returns) — Overmixed; gluten has developed too much. Expect dense, chewy pancakes instead of fluffy delights.
Don’t be tempted to mix your batter into oblivion! The most common mistake is overmixing when you’re eager to get those pancakes on the griddle. Trust me—this simple step makes all the difference between pancake perfection and a sad breakfast plate!
How to make Pumpkin Pancakes
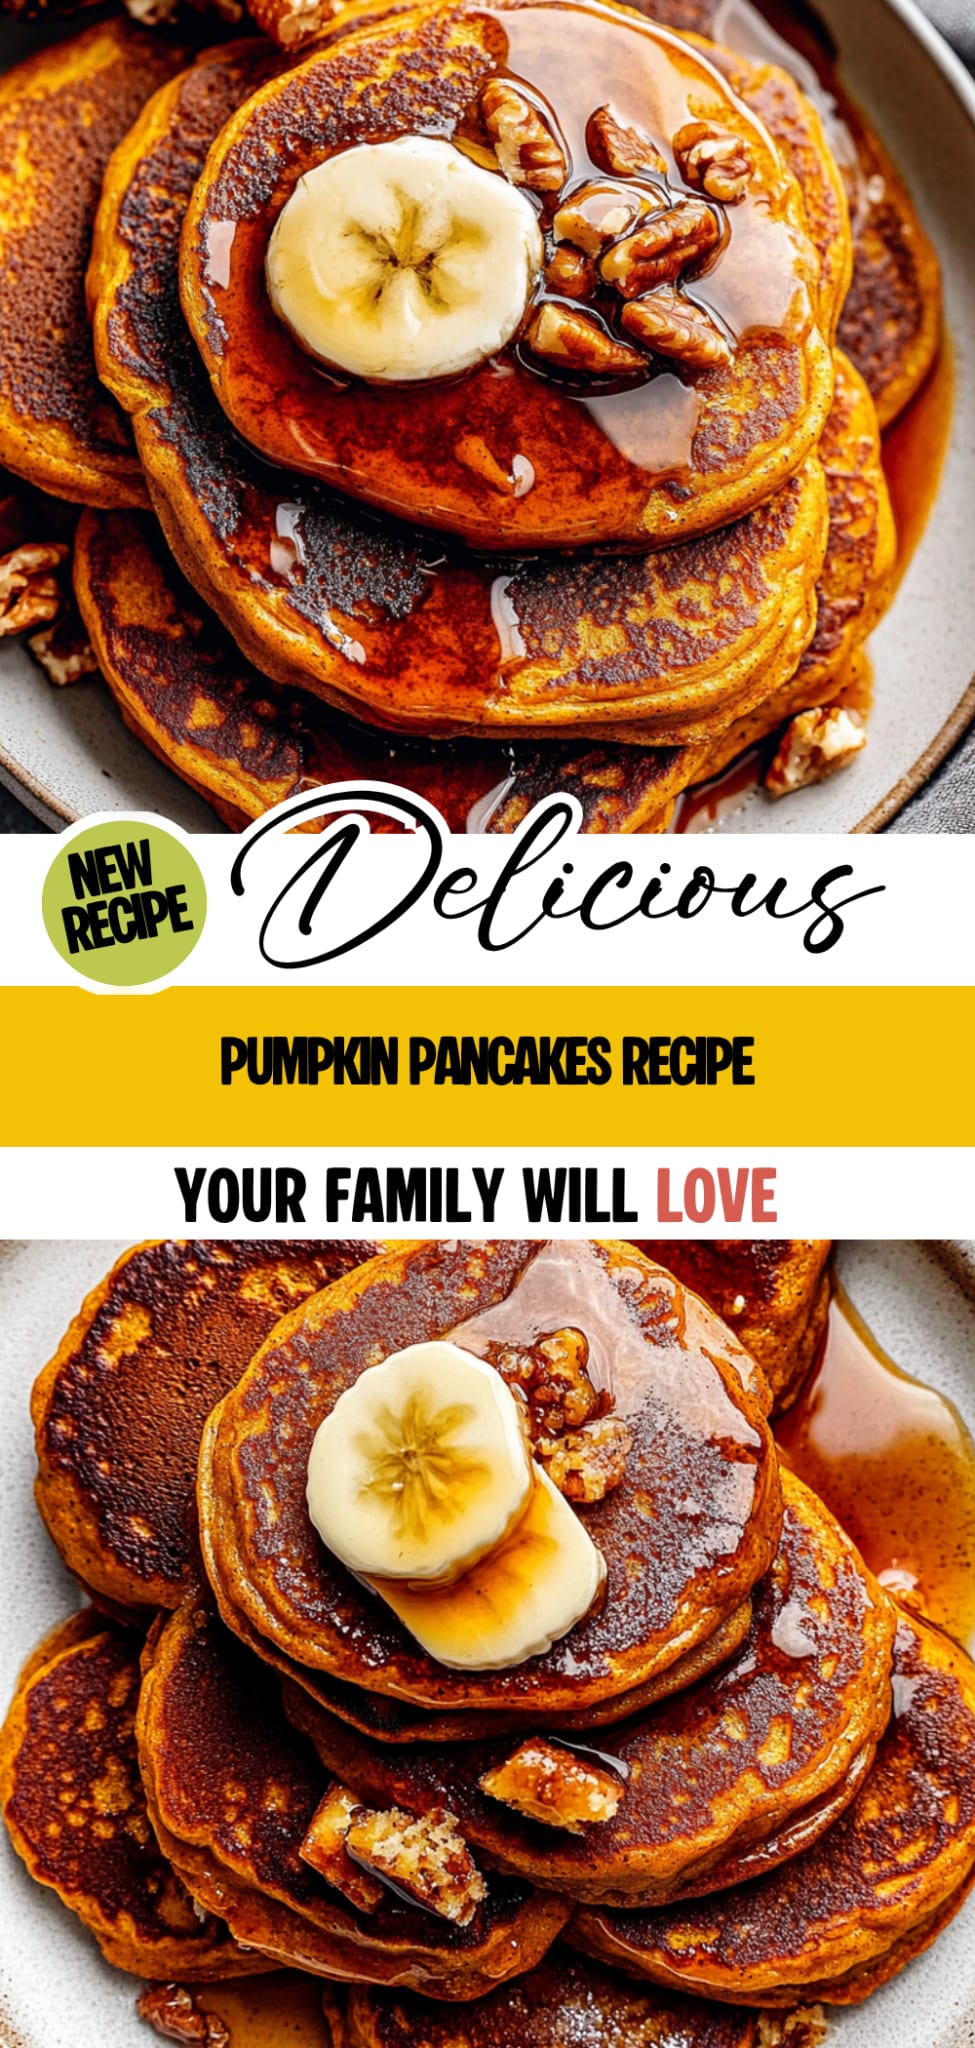
Are you ready to see how straightforward it is to make the Pumpkin Pancakes of your dreams??
1. PREPARE THE BATTER
Let’s whip up a deliciously spiced batter that will make your kitchen smell heavenly!
🟢 WHISK – In a mixing bowl, whisk together the dry ingredients: 1 cup of all-purpose flour, 2 tablespoons of packed brown sugar, 1 tablespoon of baking powder, 1 teaspoon of ground cinnamon, 1/2 teaspoon of ground nutmeg, and 1/2 teaspoon of salt. This combination will provide the perfect flavor and rise for your pancakes.
🟢 COMBINE – In another bowl, combine the wet ingredients: 1 cup of pumpkin puree, 1 cup of milk (any type), 1 large egg, and 2 tablespoons of melted butter. Mixing these well will ensure a smooth batter filled with delicious pumpkin goodness!
🟢 MIX – Pour the wet ingredients into the dry ingredients and stir until just combined. Be careful not to overmix; some lumps are okay! This is crucial because overmixing can lead to dense pancakes instead of fluffy ones.
HANDY TIPS
- Pumpkin Puree: If using fresh pumpkin puree, ensure it’s well-drained to avoid excess moisture in the batter.
- Spice It Up: Feel free to add more spices like ginger or cloves for an extra kick.
- Lumps Are Good: Don’t stress about lumps in the batter; they’ll cook out beautifully!
2. COOK THE PANCAKES
It’s time to transform that beautiful batter into fluffy pancakes!
🟢 HEAT – Heat a griddle or frying pan over medium heat and lightly grease it with butter. A properly heated surface ensures even cooking; you want it hot enough that a drop of water sizzles when it hits the pan!
🟢 POUR – Pour about 1/4 cup of batter onto the griddle for each pancake. This portion size is key for achieving that perfect pancake thickness—too much or too little can affect cooking time and texture.
🟢 COOK – Cook until bubbles form on the surface and the edges look set, about 3-4 minutes. This visual cue indicates when it’s time to flip!
🟢 FLIP – Flip the pancakes and cook for another 2-3 minutes until golden brown. The golden color means they’re cooked through while retaining that fluffy interior!
🟢 REPEAT – Repeat with the remaining batter, adding more butter to the pan as needed between batches for that irresistible crunch on the outside.
HANDY TIPS
- Perfect Temperature: If pancakes are browning too quickly, lower your heat slightly; you want them golden brown, not burnt!
- Batch Cooking: Keep finished pancakes warm in a low oven (around 200°F or 95°C) while you cook the rest.
- Fluffy Factor: Adding an extra tablespoon of baking powder can elevate fluffiness if desired!
3. SERVE
Now comes the best part—enjoying those fluffy pumpkin pancakes!
🟢 PLATE UP – Serve warm with maple syrup, whipped cream, or your favorite toppings. The flavors meld beautifully, making every bite a cozy treat!
HANDY TIPS
- Topping Ideas: I love adding chopped pecans or walnuts for some crunch alongside maple syrup!
- Make It Festive: Add a sprinkle of powdered sugar on top before serving for a delightful presentation.
- Meal Prep: You can double this recipe easily; it freezes well for quick breakfasts later!
Make these once, and I wager they will invade your dreams every night too! – Nagi x
FAQ – Pumpkin Pancakes
How long will these pancakes keep?
Pumpkin pancakes can be stored in the refrigerator for up to 3 days. However, their quality diminishes with time — I’d say they are about 97% as good on day 3 compared to when they are freshly made. To store them, simply place the cooled pancakes in an airtight container. If you want to keep them longer, you can freeze them.
Can I freeze these pancakes?
Yes, you can absolutely freeze pumpkin pancakes! Allow them to cool completely after cooking. Then, stack them with a piece of parchment paper between each pancake to prevent sticking and place them in a zip-top freezer bag. They can be frozen for up to 2 months. To reheat, just pop them in the toaster or microwave until warm.
🥄 Do I need to chill the batter before cooking?
No, you do not need to chill the batter for pumpkin pancakes. In fact, I recommend using it right away for the best results! Chilling can make it thicker and affect the fluffiness of your pancakes. Just make sure not to overmix when combining wet and dry ingredients; some lumps are perfectly fine!
🌾 Can I make these pancakes gluten-free?
Absolutely! To make gluten-free pumpkin pancakes, substitute the all-purpose flour with a 1: 1 gluten-free flour blend. I’ve tested this with brands like Bob’s Red Mill and King Arthur Flour, and both work beautifully. Just keep an eye on your cooking time as they might cook slightly faster than regular flour pancakes.
Can I reduce the sugar or substitute with sweeteners?
No, unfortunately, you cannot reduce the brown sugar without affecting the texture and flavor of these pancakes. I’ve tried it multiple times (yes, really!) and found that even slight reductions lead to denser pancakes. If you’re looking for alternatives, consider using coconut sugar or maple syrup in place of brown sugar at a 1: 1 ratio.
Why do I have lumps in my batter?
Lumps in pancake batter are perfectly normal! In fact, I prefer leaving some lumps because overmixing can lead to tough pancakes due to gluten development from the flour. The key is to gently stir until just combined; it’s okay if a few small lumps remain.
What can I add for extra flavor or variety?
You can get creative with your pumpkin pancake batter! Some delicious add-ins include:
- Choc chips: for a sweet touch
- Chopped nuts: like pecans or walnuts for crunch
- Dried fruits: such as cranberries or raisins
- Spices: feel free to enhance with ginger or cloves for more warmth
Mix them into the batter just before cooking—your taste buds will thank you!
Troubleshooting
I will continue to add more to this Troubleshooting section as I start seeing questions coming through from people who have made the recipe.
Troubleshooting tips
“My pancakes turned out too flat! 😩”
- You might have used too little baking powder. Baking powder is essential for creating that fluffy texture, and without enough, your pancakes won’t rise properly.
- If your batter was overmixed, it could lead to gluten development which makes the pancakes dense instead of light and airy. Remember, lumps are okay!
- I bet they were still YUM though!
“My pancakes came out dry and crumbly! 😭”
- If you measured your flour incorrectly or packed it too tightly, you could end up with too much flour in the batter, leading to dryness. Use a spoon to fluff up the flour before measuring!
- Not adding enough wet ingredients, like milk or pumpkin puree, can also cause the pancakes to be dry. Make sure you’re using the full amounts specified in the recipe.
- I bet they were still YUM though!
“The edges of my pancakes burned while the insides were still raw! 🔥”
- Cooking on too high a heat can cause the outside to cook too quickly while leaving the inside undercooked. Medium heat is key for even cooking.
- If your batter was too thick due to excess flour or not enough liquid, it can take longer for the centers to cook through. Try adjusting your liquid ratios next time.
- I bet they were still YUM though!
“My pancakes look pale and unappetizing! 👀”
- If you didn’t allow them to cook long enough on one side before flipping, they won’t get that lovely golden color. Wait for bubbles to form on the surface before flipping!
- Using a non-stick pan without enough butter can also prevent proper browning. Make sure to grease your pan well before pouring in the batter.
- I bet they were still YUM though!
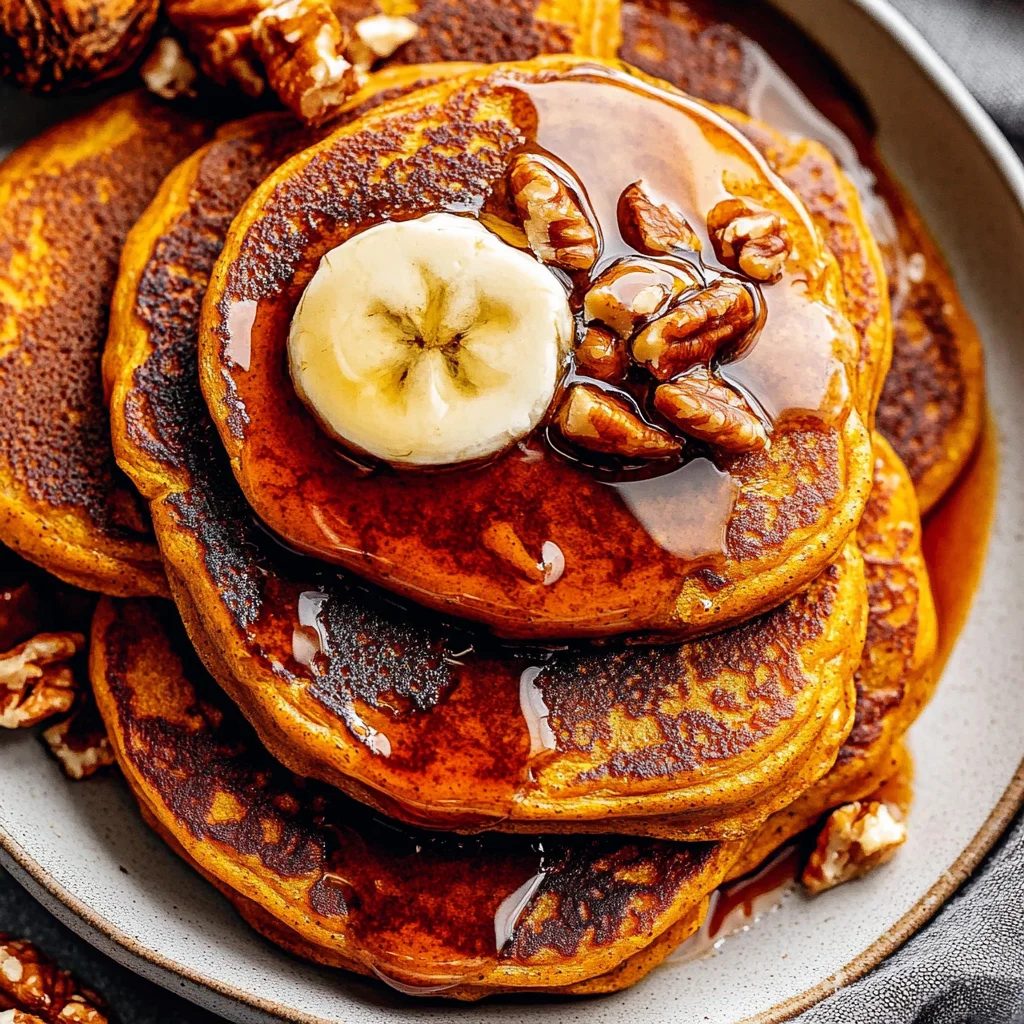
Pumpkin Pancakes
Ingredients
Method
- In a mixing bowl, whisk together the dry ingredients: flour, brown sugar, baking powder, cinnamon, nutmeg, and salt.
- In another bowl, combine the wet ingredients: pumpkin puree, milk, egg, and melted butter.
- Pour the wet ingredients into the dry ingredients and stir until just combined. Do not overmix; some lumps are okay.
- Heat a griddle or frying pan over medium heat and lightly grease with butter.
- Pour about 1/4 cup of batter onto the griddle for each pancake.
- Cook until bubbles form on the surface and the edges look set, about 3-4 minutes.
- Flip the pancakes and cook for another 2-3 minutes until golden brown.
- Repeat with the remaining batter, adding more butter to the pan as needed.
- Serve warm with maple syrup, whipped cream, or your favorite toppings.