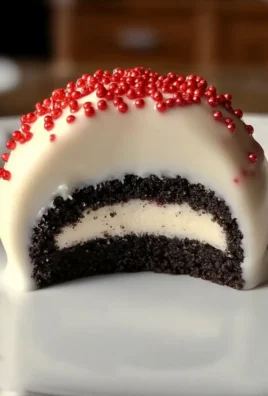
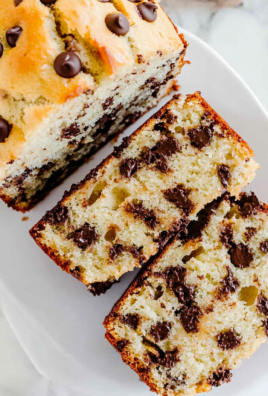
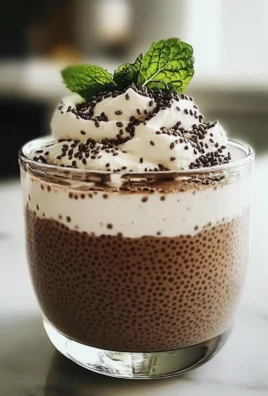
I first stumbled upon the idea of Pumpkin Cake Pops during a fall festival a few years ago, where a local bakery had a booth selling these adorable little treats. The moment I took a bite, I was hooked – the moistness of the pumpkin cake paired with the creamy white chocolate coating was pure magic. It sparked a craving that lingered long after I left the fairgrounds, and I couldn’t shake the thought of recreating that delightful experience at home. Plus, let’s be honest: who doesn’t love making something cute and delicious that’s usually overpriced at specialty shops?
After several attempts that could only be described as “epic fails” (trust me, my kitchen looked like it had been hit by a pumpkin explosion), I finally found my groove. It took me about five tries to nail down the perfect balance of moisture and flavor in the cake, not to mention figuring out how to keep the chocolate coating from turning into a sticky mess. With each round of testing, I was determined to make these Pumpkin Cake Pops not only taste better than what I had at that festival, but also easy enough for anyone to whip up without feeling like they’re on an episode of a baking competition gone wrong.
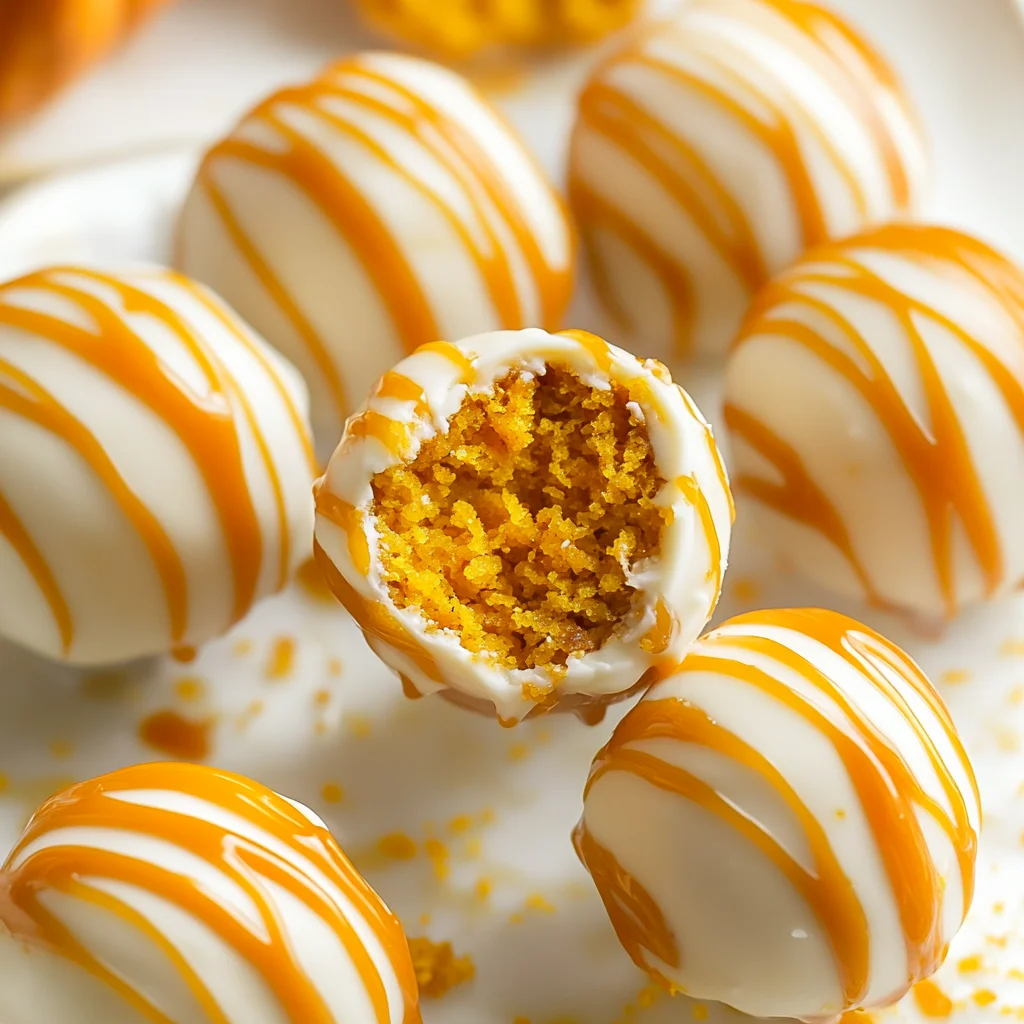
But oh boy, was it worth all those trials! The final result is nothing short of heavenly: deliciously moist pumpkin cake pops coated in velvety white chocolate that just melts in your mouth. Each bite bursts with warm spices and sweet pumpkin flavor, while the smooth chocolate adds that perfect touch of indulgence. They’re not just great for fall gatherings — they’re practically begging to be shared with friends and family! So roll up your sleeves and get ready to impress; I can’t wait for you to try my Pumpkin Cake Pops!
These Pumpkin Cake Pops are….
….the ultimate fall treat that brings all the cozy flavors of autumn into one delightful bite!
1. They offer a deliciously spiced flavor that’s perfectly balanced with a hint of sweetness. The combination of ground cinnamon and nutmeg not only enhances the pumpkin but also creates an irresistible aroma that fills your kitchen, making these cake pops a must-have for any fall gathering.
2. Incredibly moist texture – each bite is soft and tender, thanks to the inclusion of canned pumpkin puree and vegetable oil. This moisture ensures that the cake pops stay fresh longer, giving you that homemade softness that’s often missing in store-bought treats.
3. A simple yet effective technique is using two large eggs to bind the ingredients together, which creates a luscious cake base. This not only improves the overall structure but also contributes to that beautiful rise, resulting in perfectly shaped cake pops that are easy to dip in chocolate.
4. They provide excellent value for your baking efforts – with just a handful of pantry staples like flour, sugar, and spices, you can create a batch of these delightful treats at a fraction of the cost of buying them from a bakery. Plus, they are incredibly easy to make in bulk, making them perfect for sharing at parties or gatherings.
PS These Pumpkin Cake Pops yield about 20-24 bites, ideal for serving at festive occasions or enjoying throughout the week!
Ingredients for the Pumpkin Cake Pops
Each ingredient in this dish plays an essential role in flavor and texture. Here’s what you’ll need:
- 1 cup canned pumpkin puree (not pumpkin pie filling): Provides moisture and a rich pumpkin flavor.
- 1 cup granulated sugar: Sweetens the cake and helps create a tender crumb.
- 1/2 cup vegetable oil: Keeps the cake pops moist and adds richness.
- 2 large eggs: Bind the ingredients together while adding structure.
- 1 teaspoon vanilla extract: Enhances the overall sweetness and flavor profile.
- 1 1/2 cups all-purpose flour: Forms the base of the cake, giving it structure.
- 1 teaspoon baking powder: Helps the cake rise for a light texture.
- 1 teaspoon baking soda: Works with the acidity of the pumpkin to provide lift.
- 1 teaspoon ground cinnamon: Infuses warm, comforting spice notes into the cake.
- 1/2 teaspoon ground nutmeg: Adds a subtle depth of flavor that complements the pumpkin.
- 1/2 teaspoon salt: Balances sweetness and enhances all flavors in the cake.
Coating
- 12 oz white chocolate chips (for melting): Creates a creamy, sweet coating that pairs perfectly with pumpkin.
- 1/4 cup sprinkles (for decoration): Adds a festive touch and fun texture to each cake pop.
You MUST Let the Cake Cool Completely. Seriously!
I know, I know—waiting is hard. But trust me when I say I’ve tried to skip this step more times than I’d like to admit, thinking I could rush the process. Spoiler alert: every time, I ended up with a soggy mess instead of the perfectly crumbly cake pops I was aiming for! So, don’t be like me—take a deep breath and let that cake chill out.
Why is cooling essential? When you bake the cake, it’s like letting a sponge soak up water; it needs to absorb and settle. If you don’t allow the cake to cool completely before crumbling, the heat will create steam, resulting in mushy crumbs that won’t hold together when rolling them into balls. Think of it as giving your pumpkin cake a moment to collect itself before it gets transformed into delightful pops!
What does cooling do?
- Texture — Cooling allows the structure of the cake to firm up, preventing those dreaded mushy crumbs that can ruin your pops.
- Shape retention — Properly cooled cake forms firmer balls that maintain their shape when dipped in chocolate.
- Ease of handling — A cooled cake is much easier to crumble, making it less messy and more enjoyable to work with.
- Flavor development — As it cools, the flavors meld together better, enhancing that delicious pumpkin spice profile we all love.
- Moisture balance — Cooling helps prevent excess moisture from steaming out, ensuring your cake pops stay moist but not soggy.
Different cooling times
- 30 minutes (good) — The outer layers may be cool enough, but the inside is still warm and might affect crumb consistency.
- 1 hour (better) — It’s mostly cool throughout; however, some areas might still be too warm for ideal crumbling.
- ⭐️ 2 hours⭐️ — This is where you want to be! The cake has fully set and is ready for perfect crumbling without excess moisture issues.
- Overnight (best) — For even better texture, letting your cake sit overnight allows flavors to deepen and ensures perfect crumb structure.
Don’t underestimate this step! The most common mistake is trying to rush through cooling. If you attempt to crumble the cake while it’s still warm, you’ll end up with a gooey disaster instead of beautiful pops. Trust me—you’ll thank yourself later!
How to make Pumpkin Cake Pops

Are you ready to see how straightforward it is to make the Pumpkin Cake Pops of your dreams??
1. BAKE THE CAKE
Let’s start by creating that moist pumpkin cake that serves as the base for your pops!
1. Preheat – Preheat the oven to 350°F (175°C). Greasing and flouring an 8-inch square baking pan ensures that your cake won’t stick, giving you perfect slices later.
2. Combine – In a mixing bowl, combine 1 cup of pumpkin puree, 1 cup of granulated sugar, 1/2 cup of vegetable oil, 2 large eggs, and 1 teaspoon of vanilla extract. Mix until smooth; this will create a rich and flavorful batter that’s full of fall vibes!
3. Whisk – In another bowl, whisk together 1 1/2 cups of all-purpose flour, 1 teaspoon each of baking powder and baking soda, along with 1 teaspoon of ground cinnamon, 1/2 teaspoon of ground nutmeg, and 1/2 teaspoon of salt. This blend will give your cake the perfect rise and warm spices that scream autumn!
4. Combine Dry and Wet – Gradually add the dry ingredients to the wet mixture, mixing until just combined. Overmixing can lead to a dense cake—nobody wants that!
5. Bake – Pour the batter into the prepared baking pan and bake for about 25-30 minutes or until a toothpick inserted comes out clean. Your kitchen will soon be filled with the delightful smell of spiced pumpkin!
6. Cool – Let the cake cool completely in the pan before removing it. This step is crucial; if you remove it too early, you risk breaking your beautiful cake.
HANDY TIPS
- If you want a stronger spice flavor, consider adding an extra pinch of cinnamon or nutmeg to the batter.
- Remember, using canned pumpkin puree (not pie filling) is key for getting that authentic pumpkin taste.
2. FORM CAKE POPS
Now it’s time to turn that delicious cake into adorable bite-sized pops!
7. Crumble – Once the cake is fully cooled, crumble it into a large bowl until fine crumbs form; this will ensure that your pops hold together nicely when shaped.
8. Portion – Use a cookie scoop to portion out the cake crumbs and roll them into balls about one inch in diameter. Place them on a baking sheet lined with parchment paper; this helps prevent sticking!
9. Freeze – Insert lollipop sticks into each cake ball and freeze for at least 30 minutes. This makes dipping them in chocolate much easier—plus they’ll hold their shape!
HANDY TIPS
- For uniformity in size, I like using a cookie scoop—it helps maintain consistency in your pops.
- If you find your cake pop mixture too crumbly after freezing, add a tiny bit more pumpkin puree to help bind them.
3. COAT THE CAKE POPS
The final touch: coating these beauties with creamy white chocolate!
10. Melt – Melt 12 oz of white chocolate chips in a microwave-safe bowl in 30-second intervals, stirring until smooth—this prevents burning and ensures a silky coating.
11. Dip – Dip each frozen cake pop into the melted chocolate, allowing any excess to drip off back into the bowl; this keeps your coating from being too thick and ensures an even finish.
12. Decorate – While the chocolate is still wet, sprinkle with decorations before it sets—this adds some festive flair!
13. Set – Place the coated cake pops upright in a styrofoam block or a cake pop stand to set completely; this helps maintain their shape while drying.
HANDY TIPS
- For an extra crunch factor, try using crushed nuts or graham crackers as an alternative decoration!
- If you’re feeling adventurous, you can add flavored extracts like peppermint or orange zest into your melted chocolate for a unique twist.
Make these once, and I wager they will invade your dreams every night too! – Nagi x
FAQ – Pumpkin Cake Pops
🥳 How long will these cake pops keep?
These Pumpkin Cake Pops will stay fresh for about 5 days when stored properly. I recommend keeping them in an airtight container at room temperature to maintain their moisture and flavor. After day 3, you might notice they’re still good but around 97% as delightful, and by day 5, they might start to dry out a bit. If you want them to last longer, consider refrigerating them, which can extend their shelf life up to a week, but they’ll lose a bit of that lovely texture.
❄️ Do I really have to chill the cake pops? YES YOU DO.
Yes, chilling is crucial! After forming the cake balls and inserting the lollipop sticks, freezing them for at least 30 minutes is a must. This step ensures that your cake pops hold their shape when dipped into the melted white chocolate. If you skip this step, you risk having melted chocolate that doesn’t coat evenly or worse—cake pops that fall apart during dipping. Trust me; I’ve tested it multiple times!
❄️ Can I freeze these cake pops?
Absolutely! You can freeze the formed and uncoated cake pops for up to 3 months. Just place them on a baking sheet lined with parchment paper until frozen solid, then transfer them to an airtight container or freezer bag. To thaw, simply let them sit at room temperature for about 30 minutes before coating with chocolate. This way, they retain their delicious texture without compromising quality.
🌾 Can these be made gluten-free?
Yes, they can! To make gluten-free Pumpkin Cake Pops, simply substitute the all-purpose flour with a 1: 1 gluten-free flour blend. I’ve tested various brands and found that some work better than others; Bob’s Red Mill or King Arthur Flour are my favorites for baking. Just remember that you may need to adjust baking times slightly since gluten-free flour can sometimes create denser textures.
🥄 Can I reduce the sugar or substitute with sweeteners?
Nope, you cannot reduce the sugar in this recipe! The sugar not only sweetens but also plays a critical role in keeping the cake moist and helping it bind together after crumbling. I tried reducing it multiple times—trust me; it just doesn’t work well with the pumpkin puree’s moisture content. If you’re looking for alternatives, natural sweeteners like honey or maple syrup might work, but they will change the texture and flavor significantly.
🤔 Why do we crumble the cake before forming balls?
Crumbling the cooled cake is essential because it allows for even distribution of moisture throughout each cake pop. When you mix in frosting (if you choose to), it helps bind everything together without making them too wet or dense. I found that if you don’t crumble well enough or skip this step entirely, your cake pops may fall apart when handling or dipping in chocolate—definitely not what we want after all that effort!
🎉 What decorations can I use besides sprinkles?
You can get creative here! While sprinkles are adorable and festive, consider using chopped nuts like pecans or walnuts for added crunch, or drizzle with contrasting colored chocolate for visual flair. Even edible glitter can give your pumpkin pops a dazzling touch! Just make sure whatever decoration you choose complements the rich flavors of pumpkin and spices—we want these little bites of joy to shine!
Troubleshooting
I will continue to add more to this Troubleshooting section as I start seeing questions coming through from people who have made the recipe.
Troubleshooting tips
“My cake pops are too crumbly and falling apart! 😩”
- You may not have crumbled the cake finely enough, leaving larger chunks that don’t hold together well. Ensure you crumble the cooled cake into very fine crumbs.
- If your mixture is too dry, it might be due to using too much flour. Make sure to measure your flour correctly by spooning it into the measuring cup and leveling it off.
- The cake needs enough moisture from the pumpkin puree and oil; if these ingredients are not measured accurately, the texture can suffer. I bet they were still YUM though!
“My cake pops are way too soft and mushy! 😳”
- This could happen if you added too much pumpkin puree or didn’t let the cake cool completely before forming the pops. Make sure to precisely use 1 cup of canned pumpkin puree and let your cake cool fully!
- If you didn’t freeze them long enough, they won’t hold their shape when dipped in chocolate. Be sure to freeze for at least 30 minutes before coating. I bet they were still YUM though!
“The coating on my cake pops is cracking! 😟”
- Cracking can occur if your chocolate was overheated or not melted smoothly. Make sure to melt your white chocolate chips in 30-second intervals, stirring until smooth.
- If you dip a warm or room temperature cake pop into the chocolate, it may cause the coating to crack as it cools rapidly. Ensure your cake pops are thoroughly frozen before dipping. I bet they were still YUM though!
“My cake pops are unevenly shaped or misshapen! 🤷♀️”
- This usually happens if you didn’t roll the cake balls evenly after portioning them with a cookie scoop. Take a moment to roll each ball gently in your hands for a uniform shape.
- If some of your cake pops were larger than others, they will also look wonky when coated. Aim for consistent sizing—about 1 inch (2.5 cm) in diameter works well! I bet they were still YUM though!
Pumpkin Cake Pops
Ingredients
Method
- Preheat the oven to 350°F (175°C). Grease and flour an 8-inch square baking pan.
- In a mixing bowl, combine pumpkin puree, sugar, vegetable oil, eggs, and vanilla extract. Mix until smooth.
- In another bowl, whisk together flour, baking powder, baking soda, cinnamon, nutmeg, and salt.
- Gradually add the dry ingredients to the wet ingredients, mixing until just combined.
- Pour the batter into the prepared baking pan and bake for 25-30 minutes or until a toothpick comes out clean.
- Let the cake cool completely in the pan before removing.
- Once the cake is cool, crumble it into a large bowl until fine crumbs form.
- Use a cookie scoop to portion out the cake crumbs and roll them into balls, placing them on a baking sheet lined with parchment paper.
- Insert lollipop sticks into each cake ball and freeze for at least 30 minutes.
- Melt the white chocolate chips in a microwave-safe bowl in 30-second intervals, stirring until smooth.
- Dip each frozen cake pop into the melted chocolate, allowing excess to drip off.
- Sprinkle with decorations before the chocolate sets.
- Place the coated cake pops upright in a styrofoam block or a cake pop stand to set.