I’ll never forget the first time I tasted pizza dough made with active dry yeast at a tiny, family-run pizzeria tucked away in my neighborhood. The crust was light and airy, with just the right amount of chewiness, and I couldn’t help but admire how it perfectly cradled the toppings. Inspired by that unforgettable experience and a craving for homemade pizza nights, I decided to take on the challenge of recreating this deliciousness in my own kitchen. Plus, let’s be honest—there’s something incredibly satisfying about crafting your own pizza dough, especially when it costs a fraction of what you’d pay for takeout!
After countless attempts (seriously, I lost count after about 10), I finally cracked the code for how to make pizza dough with active dry yeast that exceeded my expectations. There were moments of utter failure—like the time my dough turned into a deflated pancake or when I mistakenly mistook salt for sugar. Each iteration taught me something new; whether it was tweaking the yeast activation time or perfecting the kneading technique, I was determined to achieve that coveted balance of flavor and texture. Honestly, if you could see my kitchen during those testing sessions, you’d probably think I was running a flour factory!
But let me tell you, all those flops were worth it because this pizza dough is nothing short of magical! It’s got that perfect golden-brown exterior with a soft yet chewy inside that holds up beautifully under all your favorite toppings. The flavor? It’s subtly yeasty and just downright delicious. I can’t wait for you to try this recipe—I promise you’ll be hooked on making your own pizzas from scratch!
These Pizza Dough with Active Dry Yeast are…
….the ultimate foundation for your homemade pizza creations!
1. They deliver a robust flavor profile that’s both savory and slightly sweet, thanks to the addition of sugar which activates the yeast. This simple touch enhances fermentation, resulting in a dough that not only tastes incredible but also has that authentic pizzeria aroma when baked.
2. Perfectly chewy texture – each bite reveals a satisfying balance between crispness and tenderness. The combination of all-purpose flour and warm water ensures that the dough rises beautifully, creating an elastic structure that holds up well under the weight of your favorite toppings while still being soft on the inside.
3. A key technique is using warm water (around 110°F or 43°C) to activate the active dry yeast efficiently. This crucial step ensures a rapid rise, allowing the dough to develop its flavors and structure more quickly, giving you a head start on pizza night without sacrificing quality.
4. They offer incredible value – making your own pizza dough is not only cost-effective compared to store-bought options but also incredibly easy! With just a handful of ingredients like flour, yeast, and olive oil, you can whip up enough dough for multiple pizzas, making it perfect for family gatherings or weekend meal prep.
PS This recipe yields enough dough for two large pizzas, so you’ll have plenty to share with friends or save for later!
Ingredients for the Pizza Dough with Active Dry Yeast
Each ingredient in this dish plays an essential role in flavor and texture. Here’s what you’ll need:
2 cups all-purpose flour (plus extra for dusting): Provides the structure and chewiness of the crust.
1 cup warm water (about 110°F (43°C)): Activates the yeast and helps bind the dough together.
1 packet active dry yeast (about 2 1/4 teaspoons): Essential for leavening, giving the dough its rise and airy texture.
1 teaspoon sugar (to activate yeast): Feeds the yeast, enhancing fermentation and helping the dough rise.
1 teaspoon salt: Balances flavors and strengthens gluten for better texture.
1 tablespoon olive oil: Adds richness and moisture to create a tender crust.
You Must Activate the Yeast! No Skipping This Step!
I’ll admit it: I tried to find a shortcut for activating the yeast, thinking maybe I could just mix it all together and hope for the best. Spoiler alert: it didn’t work. After numerous attempts and a few too many sad, flat pizzas later, I learned that activating the yeast is non-negotiable if you want a delightful crust.
So, why is this step so crucial? Think of yeast as the tiny superheroes of your dough. When you combine warm water, sugar, and active dry yeast, you’re essentially waking them up from their slumber. They start to feed on the sugar, producing carbon dioxide gas that makes your dough rise. Without this activation, your pizza crust will end up more like a cracker than that fluffy masterpiece you’re aiming for!
What does activating the yeast do?
- Flavor development — Activated yeast creates a rich flavor profile as it ferments sugars in the dough.
- Texture improvement — The carbon dioxide produced helps create air pockets, giving your crust that perfect light and airy texture.
- Better rise — A good activation means more lift in your dough; without it, you’ll have flat pizza discs!
- Enhanced browning — An activated dough leads to better Maillard reactions during baking, resulting in a beautifully golden crust.
- Increased shelf life — Properly activated dough has improved structure, which helps it stay fresher for longer.
Different activation times
- 5 minutes (good) — The minimum time needed; some fizzing occurs but may not be fully activated.
- 10 minutes (better) — Ideal for most recipes; you’ll see a frothy mixture ready to work its magic on your dough.
- 15 minutes (best) — Overkill? Not at all! The yeast gets super activated, leading to an extra fluffy crust.
- Beyond 20 minutes (risk of failure) — The yeast might exhaust itself if left too long; proceed with caution!
Don’t underestimate this step! The most common mistake is using water that’s too hot or too cold. If it’s not around 110°F (43°C), you risk killing the yeast or waking it up too slowly. Trust me—follow the temperature guidelines closely for pizza perfection!
How to make Pizza Dough with Active Dry Yeast
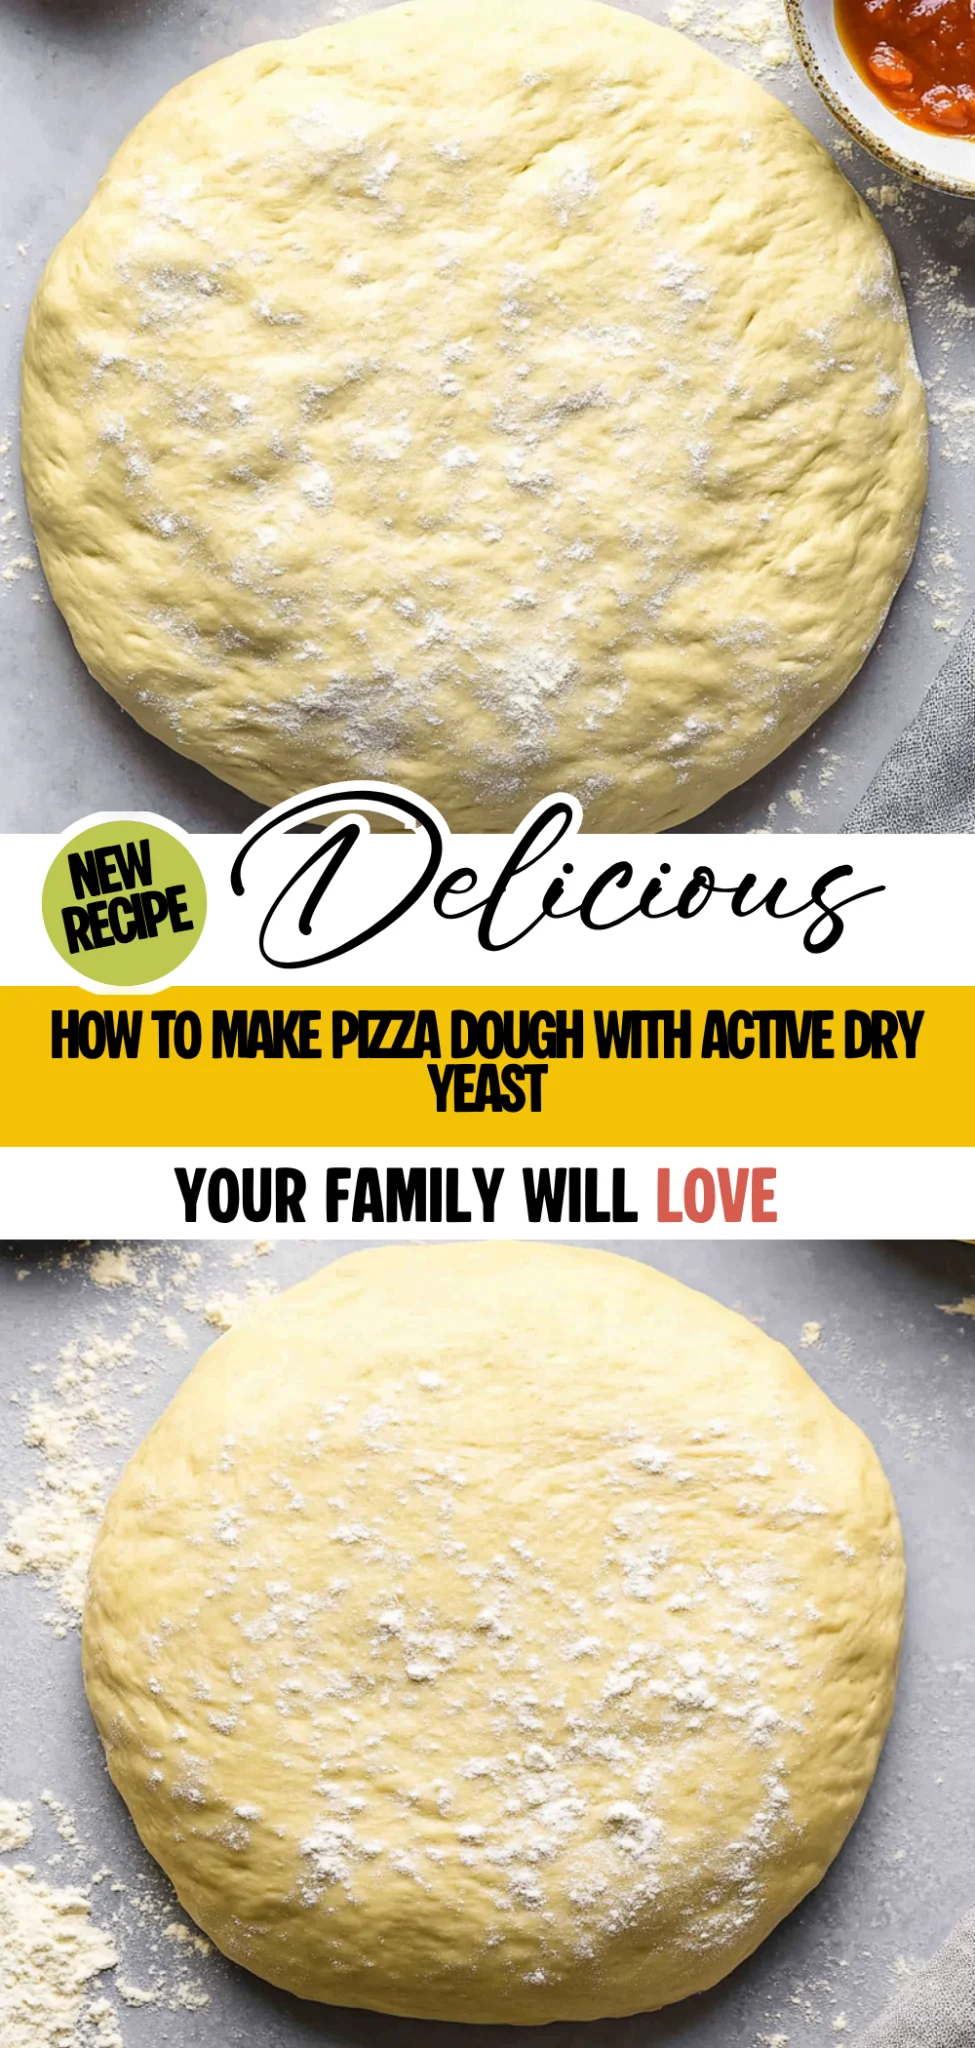
Are you ready to see how straightforward it is to make the Pizza Dough with Active Dry Yeast of your dreams??
1. ACTIVATE YEAST
Get your yeast bubbling for that perfect pizza crust!
1. Combine – In a small bowl, combine warm water, sugar, and active dry yeast. Stir gently to dissolve the yeast and let it sit for about 5-10 minutes until frothy. This step is crucial because the froth indicates that your yeast is alive and kicking!
2. Check – If the mixture doesn’t froth after 10 minutes, ⚠️ be cautious; this means the yeast may be inactive. You’ll want to try again with fresh yeast for the best results.
HANDY TIPS
- Use a thermometer to ensure your water is at the right temperature (about 110°F or 43°C); too hot can kill the yeast!
- Freshness matters! Always check the expiry date on your active dry yeast packet.
2. MIX DOUGH
Let’s bring all those ingredients together for a delightful dough!
3. Combine – In a large mixing bowl, combine 2 cups of all-purpose flour and 1 teaspoon of salt. Make a well in the center and add the activated yeast mixture along with 1 tablespoon of olive oil.
4. Stir and Knead – Stir until a dough begins to form, then transfer it onto a floured surface and knead for about 5-7 minutes until smooth and elastic. 💡 TIP: The dough should spring back slightly when pressed; this indicates it’s well-kneaded!
HANDY TIPS
- If your dough feels too sticky, sprinkle in more flour gradually as you knead.
- Kneading develops gluten, giving your pizza crust its chewy texture!
3. FIRST RISE
Time for some magic while our dough rises!
5. Rise – Place the dough in a greased bowl, cover it with a damp cloth, and let it rise in a warm place for about 1 hour, or until doubled in size. This step allows the dough to develop flavor and texture. 💡 TIP: A warm oven (turned off) works well for rising!
HANDY TIPS
- For an even better flavor, consider letting your dough rise slowly in the refrigerator overnight.
- Make sure your bowl is greased enough so that the dough doesn’t stick during rising.
4. SHAPE DOUGH
Now we’re shaping up for pizza perfection!
6. Punch Down – Once risen, punch down the dough gently to release air bubbles. Divide it into two equal portions; this recipe makes two delicious pizzas!
7. Roll Out – Roll out each portion on a floured surface to your desired thickness—thinner for crispy crusts or thicker if you like a chewier bite.
HANDY TIPS
- Use extra flour while rolling out if needed to prevent sticking.
- If you’re prepping ahead, you can shape and refrigerate the dough for later use!
PREHEAT OVEN
Get ready for baking bliss!
8. Preheat – Preheat your oven to 475°F (245°C) while you prepare your pizza toppings.
With just these simple steps, you’ve created an amazing base for your homemade pizzas! From activating that bubbly yeast to rolling out perfectly shaped dough, you’ve taken control of your pizza destiny! Make these once, and I wager they will invade your dreams every night too! – Nagi x
FAQ – Pizza Dough with Active Dry Yeast
❄️ Can I make this pizza dough ahead of time?
Yes, you can make the pizza dough ahead of time! If you’re planning to use it later, after the first rise, just punch it down and wrap it tightly in plastic wrap or place it in an airtight container. You can refrigerate it for up to 2 days. When you’re ready to use it, let it come to room temperature for about 30 minutes before rolling it out. This resting period is crucial as it allows the gluten to relax, making the dough easier to shape.
🥶 Can I freeze the pizza dough?
Absolutely! Freezing pizza dough is a great way to have fresh dough on hand whenever you need it. After the first rise, punch down the dough and divide it into portions (enough for each pizza). Wrap each portion tightly in plastic wrap and then place them in a freezer bag. The dough can be frozen for up to 3 months. To use, simply transfer the dough to the refrigerator overnight or leave it at room temperature for about 1–2 hours until thawed and puffy.
🌾 Is there a gluten-free version of this pizza dough?
Yes, you can make a gluten-free pizza dough! Substitute the all-purpose flour with a gluten-free all-purpose flour blend that includes xanthan gum (this helps mimic the elasticity of gluten). Follow the same instructions; however, keep in mind that gluten-free dough tends to be stickier, so be generous with flour when dusting your surface during rolling out. I recommend letting it rest longer if it’s too sticky — about 10-15 minutes before shaping.
🍯 Can I substitute active dry yeast with instant yeast?
Definitely! You can substitute active dry yeast with instant yeast without any issues. The difference is that instant yeast doesn’t require activation in warm water and can be mixed directly into the dry ingredients. Use the same amount—1 packet (about 2 1/4 teaspoons). However, skip the sugar for activating since instant yeast doesn’t need that boost. Just mix everything together and proceed with kneading as usual.
⏲️ How long does this pizza dough last once baked?
Once baked, your homemade pizzas are best consumed fresh but will stay good for about 2–3 days stored in an airtight container in the fridge. After day two, I’d say they’re about 80% as good! You can reheat them in a preheated oven at 350°F (175°C) for about 10 minutes or until heated through for a better texture than microwaving — trust me on this one!
🤔 Why do I need to let the yeast mixture froth?
Letting the yeast mixture froth is essential because it confirms that your yeast is active and alive—this is what makes your dough rise! If you skip this step and add inactive yeast straight into your flour, you’ll end up with flat, sad pizzas. If your mixture doesn’t froth within 10 minutes after mixing with water and sugar, toss it out and start again with fresh yeast; it’s not worth risking your pizza night!
🍕 Can I add herbs or spices to my pizza dough?
You bet! Adding herbs or spices is a fantastic way to elevate your pizza crust’s flavor profile. Try mixing in dried oregano, basil, or garlic powder directly into the flour before adding wet ingredients—about 1 teaspoon should do nicely! Experimenting is half the fun of homemade pizza; don’t hesitate to get creative with flavors that match your toppings!
Troubleshooting
I will continue to add more to this Troubleshooting section as I start seeing questions coming through from people who have made the recipe.
Troubleshooting tips
“My dough didn’t rise at all! 😭”
- Your water may have been too hot or too cold. Yeast activates best in warm water around 110°F (43°C); if it’s too hot, it can kill the yeast, and if it’s too cold, it won’t activate properly.
- You might not have waited long enough for the yeast to froth. It should sit for about 5-10 minutes; if you don’t see bubbles, that means your yeast is likely inactive.
- The environment where you let your dough rise could be too cold. Yeast thrives in a warm place; try placing it in a slightly heated oven or near a warm window next time.
I bet your dough was still YUM though!
“My pizza crust is way too thick! 🍕”
- You may have used too much flour when rolling out your dough. It’s important to measure accurately and dust lightly—flour can easily pile up and make the crust thicker than desired.
- If you didn’t divide the dough evenly after the first rise, one portion might end up larger than the other, resulting in an uneven thickness during rolling.
I bet it still tasted great, though!
“The edges of my crust are super hard and chewy! 😩”
- You might have over-kneaded your dough. Kneading for too long can develop excess gluten, which results in a tougher texture rather than a light and airy crust. Aim for 5-7 minutes of kneading max!
- If your oven temperature is too high when baking, it can cause the outer edges to harden before the inside has cooked properly. Make sure to preheat your oven to 475°F (245°C) for optimal results.
I still think your pizza had a delicious flavor, though!
“My dough is too sticky to work with! 🤦♀️”
- You may have added more water than needed or not enough flour during mixing or kneading. The right consistency should be slightly tacky but manageable; add flour gradually while kneading if it’s overly sticky.
- Not allowing enough time for the dough to rest can also contribute to stickiness; give it that first rise so it can relax before you shape it!
I bet it was still delightful in its own way!
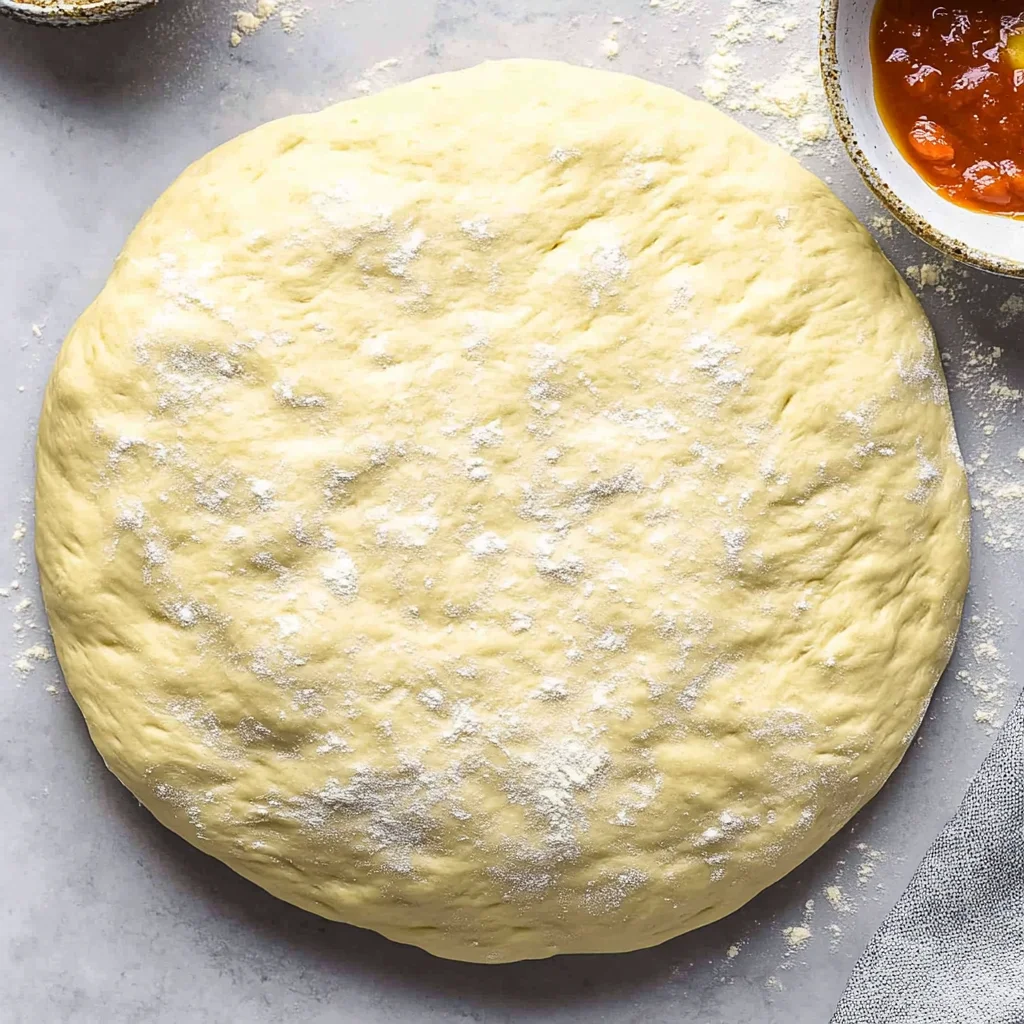
Pizza Dough with Active Dry Yeast
Ingredients
Method
- In a small bowl, combine warm water, sugar, and active dry yeast. Stir gently and let it sit for about 5-10 minutes until frothy.
- If the mixture doesn't froth, the yeast may be inactive; try again with fresh yeast.
- In a large mixing bowl, combine flour and salt. Make a well in the center and add the yeast mixture and olive oil.
- Stir until a dough begins to form, then knead on a floured surface for about 5-7 minutes until smooth and elastic.
- Place the dough in a greased bowl, cover with a damp cloth, and let it rise in a warm place for about 1 hour, or until doubled in size.
- Once risen, punch down the dough to release air. Divide into two equal portions for two pizzas.
- Roll out each portion on a floured surface to your desired thickness.
- Preheat your oven to 475°F (245°C) while you prepare your pizza toppings.