It all started with a craving for that cozy, soul-warming French onion soup I had at my favorite little bistro downtown. You know the one—the type of place where the aroma of caramelized onions wafts through the air and wraps around you like a warm hug? I always left feeling satisfied but also wishing I could take that rich, savory flavor home with me in larger portions. So, I decided to challenge myself to recreate that experience, but with a twist: a Comforting French Onion Pot Roast that would bring all those delectable flavors into a hearty family meal without breaking the bank.
Let me tell you, perfecting this recipe was no walk in the park. It took me four attempts—yes, four!—to nail down the balance between the tender meat and the luscious broth infused with those sweet caramelized onions. Each time ended in either overly salty broth or meat that didn’t quite have that melt-in-your-mouth quality I was going for. I felt like a mad scientist in my kitchen, stirring pots and adjusting seasonings while my family patiently waited for dinner; they were probably just hoping I wouldn’t burn anything again!
But oh boy, was it worth it! The final result is nothing short of spectacular—a hearty pot roast infused with rich flavors that brings everyone together around the table. The tender chunks of beef practically fall apart, swimming in a velvety broth that’s just bursting with savory goodness. Plus, this dish keeps well for days, making leftovers a dream come true! I’m so excited for you to try my Comforting French Onion Pot Roast; it’s sure to become a new family favorite that warms your heart and fills your belly!
These Comforting French Onion Pot Roast are….
…a soul-warming centerpiece that will have your family asking for seconds!
1. They deliver an incredible depth of flavor with the rich taste of caramelized onions and savory broth. The long, slow cooking process allows the chuck roast to soak up every bit of the luscious beef broth and the sweetness from the onions, creating a dish that’s robust and comforting in every bite.
2. Melt-in-your-mouth tenderness is guaranteed thanks to the marbled fat in the chuck roast. This cut is ideal for pot roasting because it breaks down beautifully during the cooking process, resulting in meat that simply falls apart, making your dining experience utterly satisfying.
3. Searing perfection – I always start by searing the chuck roast in olive oil before braising. This crucial step not only develops a gorgeous crust but also locks in moisture and enhances the overall flavor, ensuring that each bite of this Comforting French Onion Pot Roast is packed with richness.
4. Budget-friendly goodness – Using a chuck roast means you can create an impressive meal without breaking the bank. This affordable cut delivers restaurant-quality results right at home, proving that hearty meals can be made with simple ingredients while feeding a crowd.
PS This recipe yields enough to serve 6-8 people generously, making it perfect for family gatherings or meal prep for busy weekdays!
Ingredients for the Comforting French Onion Pot Roast
Each ingredient in this dish plays an essential role in flavor and texture. Here’s what you’ll need:
3 pounds chuck roast (trimmed and tied): The centerpiece of the dish, providing rich and hearty flavor.
2 teaspoons salt (divided): Enhances the overall taste and helps to develop a savory crust.
1 teaspoon black pepper (freshly ground): Adds warmth and a hint of spice to balance the sweetness of the onions.
2 tablespoons olive oil (for searing): Essential for achieving a beautifully browned surface on the meat.
4 large yellow onions (sliced): Caramelizes to bring deep sweetness and a luscious texture.
4 cloves garlic (minced): Infuses the pot roast with aromatic depth and savory notes.
2 tablespoons fresh thyme (or 1 tablespoon dried thyme): Provides earthy herbal undertones that complement the beef beautifully.
2 cups beef broth (low sodium): Forms a flavorful base for braising, ensuring tenderness and moisture.
1 cup dry white wine (optional): Adds acidity to brighten flavors and enhance complexity in the sauce.
1 cup Gruyère cheese (shredded, for topping): Melts into a creamy layer that brings richness and a delightful finish.
- 1 bag French baguette (for serving): Perfect for soaking up the delicious juices, making every bite satisfying.
You Must Sear the Roast. No Shortcuts!
I’ll be honest—when I first tackled this Comforting French Onion Pot Roast, I thought I could skip the searing step. Who has time for that? But after a few tries of rushing through it, I had to admit defeat: skipping the sear resulted in a less flavorful and downright sad roast. Trust me, it’s worth that extra 10 minutes of work.
Why is searing so essential? Think of it as giving your chuck roast a flavor upgrade—like putting on a fancy coat before heading out. The high heat caramelizes the surface, creating that glorious brown crust packed with deep, savory flavors. Without it, you lose out on that delicious layer of complexity that makes every bite of your pot roast truly comforting.
What does searing do?
- Flavor — The Maillard reaction during searing creates complex flavors that enhance the meat’s natural richness, making each bite unforgettable.
- Color — Searing develops a beautiful golden-brown crust, which not only looks appealing but also signals intense flavor.
- Juiciness — The process helps lock in moisture, ensuring that your chuck roast remains juicy throughout the lengthy cooking process.
- Texture — A well-seared roast has an appealing contrast between the tender inside and the crispy outer layer, giving a delightful mouthfeel.
- Aromatics — Searing releases savory aromas that fill your kitchen with an irresistible scent, setting the stage for your comforting family meal.
Different searing times
- 1 minute per side (minimal flavor) — Barely enough time to develop any color; results in a bland roast.
- 3 minutes per side (decent) — Some browning starts to occur but lacks depth; still not ideal for full flavor development.
- 5 minutes per side (good) — A nice crust forms; you can start to taste some improvement in flavor and texture.
- ⭐️8 to 10 minutes⭐️ (best) — Achieves maximum browning and flavor; this is where the magic happens!
Beware! The most common mistake is thinking you can rush the sear or use too low heat. Don’t rush it—high heat is key here. If you don’t give your chuck roast enough time to properly caramelize, you’re sabotaging all those beautiful flavors just waiting to happen!
How to make Comforting French Onion Pot Roast
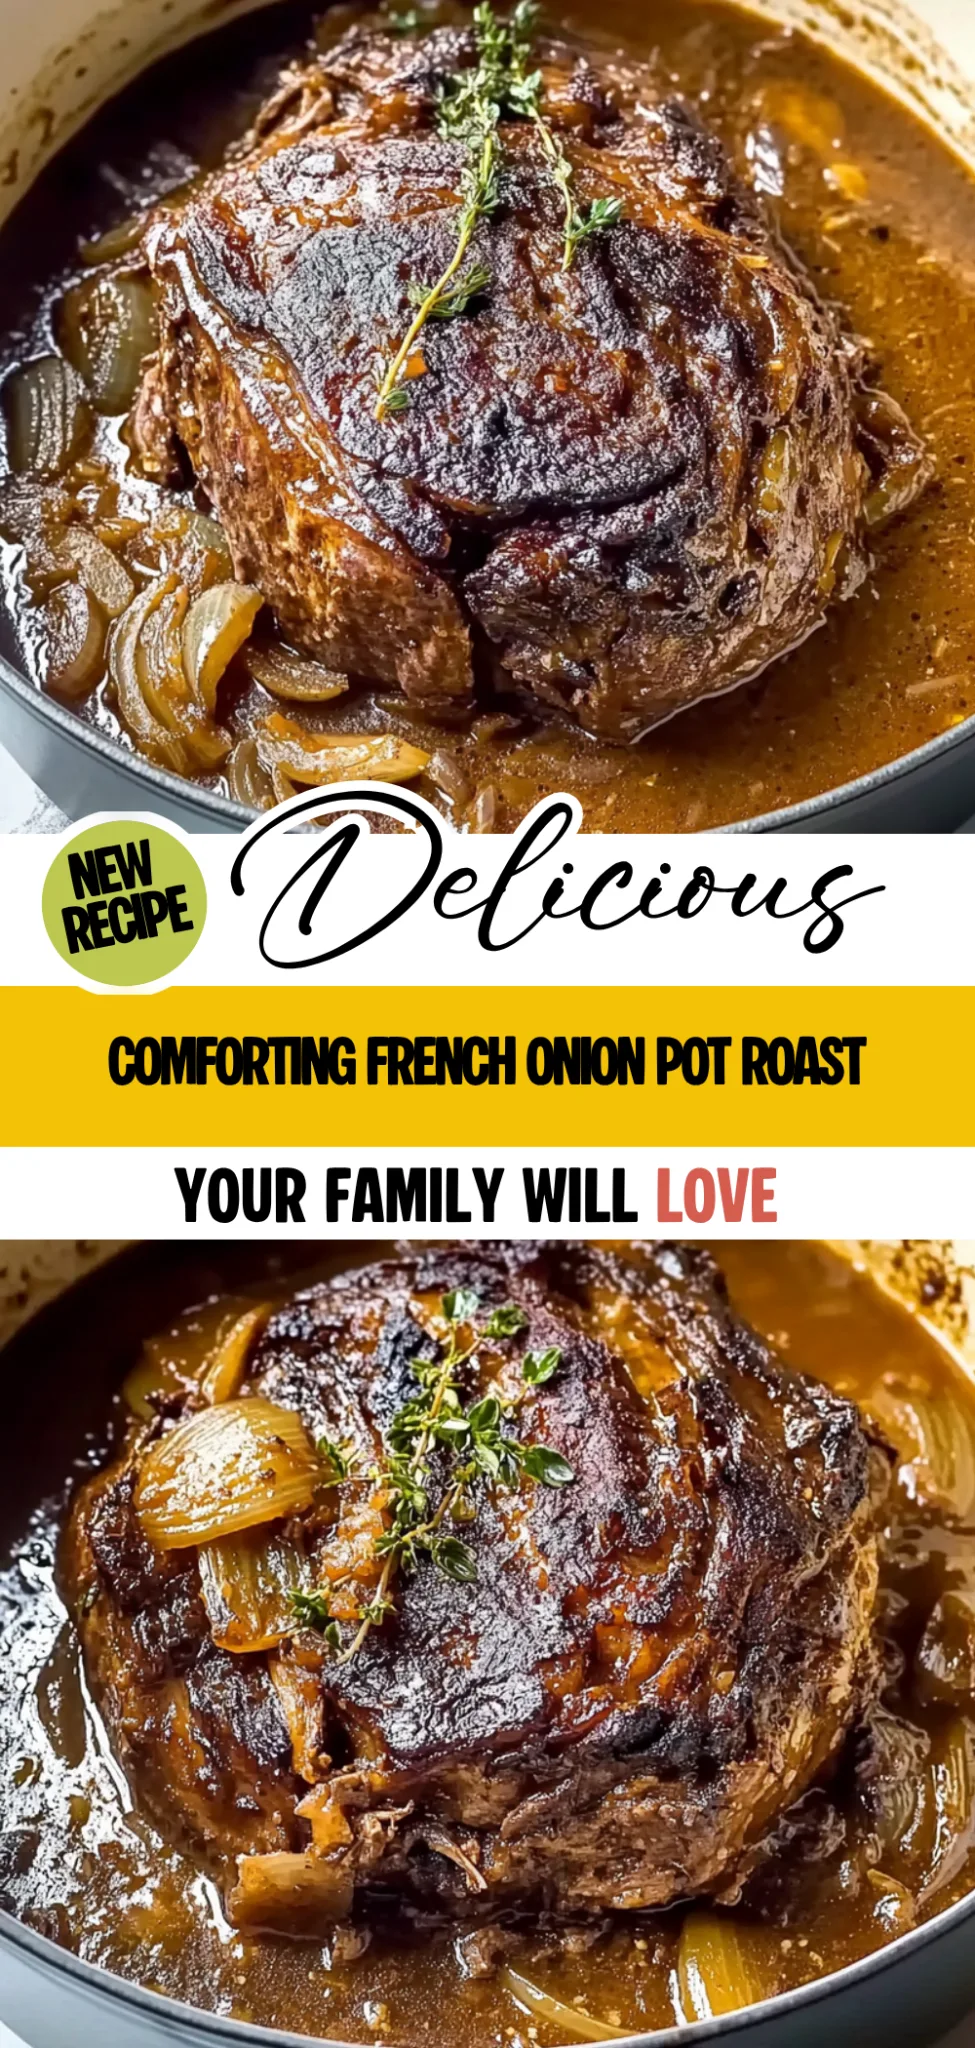
Are you ready to see how straightforward it is to make the Comforting French Onion Pot Roast of your dreams??
1. SEAR THE ROAST
This step locks in the flavors and creates a beautiful crust!
Bold action label: Preheat – Preheat your Dutch oven over medium-high heat. While the pot is heating, season the chuck roast generously with 1 teaspoon salt and black pepper. Searing enhances flavor by caramelizing the meat’s surface, resulting in rich, savory notes. Add 2 tablespoons of olive oil to the pot, swirling it around to coat the bottom. Once the oil shimmers, carefully place the roast in the pot and sear it on all sides until browned, about 8-10 minutes. As you sear, watch for a deep golden crust—this is where your flavor foundation begins!
Bold action label: Remove – After browning all sides, gently remove the roast from the pot and set it aside on a plate.
HANDY TIPS
- Make sure your Dutch oven is hot enough before adding the roast; this ensures a good sear.
- If your roast is larger than 3 pounds, you may need to adjust cooking time accordingly.
2. CARAMELIZE THE ONIONS
This phase adds sweetness and depth to your dish!
Bold action label: Add – In the same pot (don’t clean it!), add 4 large sliced yellow onions over medium heat. Stir occasionally for even cooking—your goal is to caramelize them until they are soft and golden brown, about 20-25 minutes. The onions will reduce significantly in size while developing that deliciously sweet flavor!
Bold action label: Incorporate – Once caramelized, add 4 cloves of minced garlic and 2 tablespoons of fresh thyme (or 1 tablespoon dried thyme) to the onions. Cook for an additional 2 minutes until fragrant; you’ll be greeted with an irresistible aroma!
HANDY TIPS
- For an extra layer of flavor, scrape any browned bits from the bottom of the pot as you stir.
- Adjust the heat if necessary—if your onions are browning too quickly, reduce it slightly.
3. COMBINE AND COOK
Now we bring everything together for a deliciously comforting meal!
Bold action label: Return – Place the seared roast back into the pot with those beautifully caramelized onions. Next, pour in 2 cups of low-sodium beef broth and optional 1 cup of dry white wine if you’re feeling fancy! Bring everything to a gentle simmer; this helps meld those flavors together beautifully.
Bold action label: Cover – Cover your Dutch oven with its lid and carefully transfer it to a preheated oven at 325°F (163°C). Let it cook for 2-3 hours or until tender—the roast should reach an internal temperature of at least 195°F (90°C). This slow cooking process allows flavors to deepen while making that chuck roast tender and juicy!
HANDY TIPS
- If using wine, choose one that’s drinkable; this will enhance your overall dish.
- Check occasionally if more liquid is needed—just a splash of beef broth will do.
4. SERVE
It’s finally time for that glorious moment when you enjoy your creation!
Bold action label: Remove – Carefully take out the pot from the oven once done and let it rest for about 10 minutes before slicing; this allows juices to redistribute within the meat for maximum tenderness!
Bold action label: Serve – Slice up that succulent pot roast and serve it topped with those luscious caramelized onions and a generous sprinkle of shredded Gruyère cheese. Pair it with slices of fresh French baguette—you’ll want something to soak up all that amazing sauce!
HANDY TIPS
- For extra gooey cheese goodness, pop the topped roast under a broiler for a minute or two before serving.
- Don’t forget to save some leftover sauce for dipping your bread!
Enjoy every bite of this hearty comfort food masterpiece! You’ve just created a meal perfect for gathering friends and family around—one that will surely leave everyone coming back for seconds! Make these once, and I wager they will invade your dreams every night too! – Nagi x
FAQ – Comforting French Onion Pot Roast
🥩 How long will this pot roast keep in the fridge?
Cooked pot roast will stay fresh in the fridge for about 3 to 4 days if stored properly in an airtight container. After day 3, I’d say it’s still about 97% as good, but you’ll want to make sure it’s reheated well to maintain quality. If you notice any off smells or changes in texture, it’s best to err on the side of caution and toss it. And trust me, no one wants a surprise from their leftovers!
⏰ Do I really have to let the roast rest after cooking?
Yes, you absolutely need to let your pot roast rest for at least 10 minutes after it comes out of the oven. Allowing it to rest lets the juices redistribute throughout the meat, ensuring every slice is tender and juicy instead of dry and sad. I know it’s tempting to dive right in, but patience here pays off with a much better meal!
❄️ Can I freeze leftovers from this recipe?
Definitely! You can freeze leftover French Onion Pot Roast for up to 3 months. Just make sure to cool it completely before transferring it to an airtight freezer-safe container or heavy-duty freezer bag. To reheat, thaw it overnight in the fridge and then warm it gently on the stove or in the oven until heated through. Just remember that while freezing keeps it safe, the texture may slightly change — but hey, it’s still delicious!
🌱 Can I make this pot roast dairy-free?
While Gruyère cheese adds a lovely finishing touch, you can easily skip it for a dairy-free version. Just omit the cheese and consider adding a bit more flavor with herbs or spices if you’re worried about losing richness. If you want a cheesy flavor without dairy, nutritional yeast can work as a great substitute sprinkled on top just before serving!
🔄 What can I substitute for chuck roast?
If you can’t find chuck roast or prefer something leaner, brisket or round roasts are solid alternatives. Both have great flavor but will be a tad less tender than chuck when cooked low and slow. If using a leaner cut like round roast, reduce cooking time a bit and check for tenderness earlier; nobody wants shoe leather for dinner!
🤔 Why do I need to sear the roast first?
Searing your chuck roast is essential because it creates that beautiful Maillard reaction — that’s fancy talk for browning! This process develops deeper flavors and enhances the overall richness of your dish. Plus, who doesn’t love that caramelized crust? Trust me when I say skipping this step would result in a much flatter-tasting pot roast!
✨ Can I add other vegetables to this recipe?
Absolutely! Feel free to toss in some carrots, potatoes, or even parsnips alongside your onions for added flavor and nutrition. Just chop them into similar sizes so they cook evenly with your pot roast. It’s like a two-for-one deal: comfort food with veggies included! Who says you can’t have your cake and eat it too?
Troubleshooting
I will continue to add more to this Troubleshooting section as I start seeing questions coming through from people who have made the recipe.
Troubleshooting tips
“The meat came out tough and dry! 😭”
- Not cooking the roast long enough can lead to a tough texture. Chuck roast needs time to break down the connective tissues, so ensure it cooks for 2-3 hours as specified.
- If your oven temperature was too high, it could have cooked the outside before the inside had a chance to tenderize. Always use an oven thermometer if you’re unsure about your oven’s accuracy!
- Using a lean cut of beef instead of chuck roast might be the culprit. Chuck roast is ideal for slow cooking due to its fat content and marbling.
I bet it still tasted delicious, even if it wasn’t quite as tender as you hoped!
“My onions didn’t caramelize properly! 😩”
- Cooking the onions over too high heat can cause them to brown unevenly or burn rather than caramelize. Stick to medium heat for that sweet, golden goodness!
- Not stirring the onions regularly can lead to some parts browning too quickly while others remain undercooked. Give them a stir every few minutes for even cooking!
- If you added salt too early in the process, it might have drawn out moisture, preventing proper caramelization. Try adding salt after they start softening next time!
They may not have been perfect, but I bet they still added great flavor!
“The broth was too salty!”
- Using regular beef broth instead of low sodium broth can lead to an overly salty dish. Always opt for low sodium if you’re concerned about salt levels!
- If you added extra salt while seasoning the roast or onions, that can compound the saltiness. Remember, it’s easier to add than take away!
- If you’re using wine, make sure it’s dry and that you account for its flavor contribution when seasoning with salt. A little goes a long way!
Even if it was a tad salty, I’m sure your pot roast was still packed with flavor!
“The gravy turned out too thin!”
- If you didn’t allow enough time for the liquid to reduce after cooking, it might lack thickness. Make sure to simmer uncovered for a few minutes before serving to get that perfect consistency!
- Not using enough onion or garlic can also affect thickness since they help create body in sauces as they release starches while cooking. Stick with the measurements for best results!
- Skipping out on adding any cornstarch or flour slurry at the end can leave your gravy runny; consider thickening agents if you want a richer sauce next time!
No worries though—it probably still tasted heavenly!
“The cheese didn’t melt properly on top!” 🧀
- If your Gruyère cheese was shredded too coarsely or not evenly distributed, it could result in uneven melting. Aim for finer shreds for optimal meltiness!
- Placing the cheese under the broiler without watching closely could cause it to burn rather than melt beautifully. Keep an eye on it—just a minute or two is all you need!
- Adding cheese too early during cooking might prevent it from melting properly; wait until just before serving for that gooey finish!
Even if it didn’t look perfect, I bet that cheesy goodness still brought smiles around the table!