I first stumbled upon the idea for this Apple Bread Recipe while wandering through a charming little café that had an unmistakable aroma wafting from their kitchen. As soon as I took a bite of their warm, spiced apple bread, I was hooked—each slice was like a hug from my childhood, filled with the comforting flavors of fall. The original recipe was delightful, but I couldn’t help but think about how I could make it even more special at home. Plus, let’s be honest: homemade always wins when it comes to cost and convenience!
After several fruitless attempts—let’s just say my kitchen looked like an apple bomb went off—I finally nailed it down after what felt like a hundred tries (okay, maybe it was only seven). Each iteration brought its own set of challenges: too dry, too sweet, not enough spice—you name it! I was determined to achieve that perfect balance of moisture and flavor that would make my Apple Bread Recipe stand out, and with every flop, I learned something new. It turns out you can have too much cinnamon (who knew?).
But oh boy, was it worth the effort! The final product is a moist and flavorful bread that boasts chunks of fresh apples dancing alongside warm spices—it’s perfect for breakfast or as a cozy snack any time of day. The texture is incredibly tender, while the aroma is simply irresistible; you’ll want to make this again and again. I can’t wait for you to try it and fill your home with that heavenly scent—I promise you’ll fall in love just like I did!
These Apple Bread Recipe are….
…absolutely the ultimate comfort food for any occasion!
1. They offer an irresistible aroma that fills your kitchen while baking, thanks to the warm cinnamon and fresh apples. This unique blend of spices creates a cozy atmosphere, making it impossible to resist diving into a slice as soon as it comes out of the oven.
2. Moist and tender texture – each bite is soft yet hearty, a result of using applesauce combined with chopped apples. The applesauce not only enhances moisture but also contributes natural sweetness, ensuring that every slice melts in your mouth.
3. The baking technique employs both baking soda and the natural acidity from apples to create a beautifully risen bread with a perfect crumb structure. This method results in a delightful lightness that elevates this Apple Bread Recipe above typical quick breads.
4. Exceptional value – with just simple pantry staples like flour, sugar, and apples, you can whip up this delicious treat without breaking the bank. Plus, the ingredients are easily accessible, making it a go-to choice for anyone looking to bake something special at home.
PS This recipe yields one loaf of bread that’s perfect for sharing or savoring throughout the week!
Your Ingredient List
Each ingredient in this dish plays an essential role in flavor and texture. Here’s what you’ll need:
- 2 cups all-purpose flour: Provides the structure and base for the bread.
- 1 teaspoon baking soda: Acts as a leavening agent to help the bread rise.
- 1 teaspoon cinnamon: Infuses warm, comforting spice notes throughout.
- 1 teaspoon salt: Enhances the sweetness of the apples and balances flavors.
- 1 cup sugar: Sweetens the bread while contributing to its moistness.
- 1 cup applesauce (or mashed ripe bananas): Adds moisture and natural sweetness.
- 2 large eggs: Binds ingredients together and adds richness.
- 1 teaspoon vanilla extract: Offers a warm, aromatic flavor that complements the apples.
- 1 cup chopped apples (peeled and cored): Brings freshness and juicy texture to every bite.
- 1 cup walnuts (chopped, optional): Adds a delightful crunch and nutty flavor contrast.
- 1 cup raisins (optional): Introduces chewiness and additional sweetness for depth.
You MUST Preheat Your Oven — No Exceptions!
I know, I know. Preheating the oven feels like a hassle and adds extra time to your baking process. I tried to skip this step just to see if I could get away with it, but trust me, it was a big mistake! The result was less than stellar, and I ended up with a loaf that was more ‘meh’ than magnificent.
So why exactly is preheating the oven so crucial? Think of it like warming up before a workout — you wouldn’t want to jump straight into an intense exercise without getting your body ready first. In baking, starting with a properly heated oven ensures that the chemical reactions in your Apple Bread Recipe happen at the right moment. This means your dry ingredients (like flour and baking soda) activate correctly, allowing for that perfect rise and texture!
What does preheating do?
- Texture: The bread develops a nice crust while remaining soft inside because it bakes evenly right from the start.
- Rise: Proper activation of baking soda occurs when batter hits a hot oven, leading to a lighter, fluffier loaf.
- Flavor: Enhanced flavors develop as sugars caramelize better in a hot environment compared to starting cold.
- Moisture retention: A preheated oven helps lock in moisture quickly, resulting in that delightful moist crumb we all love.
- Even cooking: Ensures that all parts of the bread cook uniformly, avoiding any soggy or undercooked areas.
Different preheating times
- No preheating (poor) — You’ll end up with a dense, gummy loaf that’s as appealing as cardboard.
- 10 minutes (okay) — Better than nothing, but you might notice uneven textures and a lack of height.
- 15 minutes (good) — A decent bread that rises better but still lacks full flavor development.
- 20 minutes (great) — Optimally heated oven gives you the best chance at achieving an impressive rise and beautiful crust.
Don’t even think about skipping preheating your oven! The most common mistake is assuming that it’s okay to just toss everything in without giving your oven time to warm up. If you do this, you’re risking turning your lovely apple bread into an unappetizing brick!
How to make Apple Bread Recipe
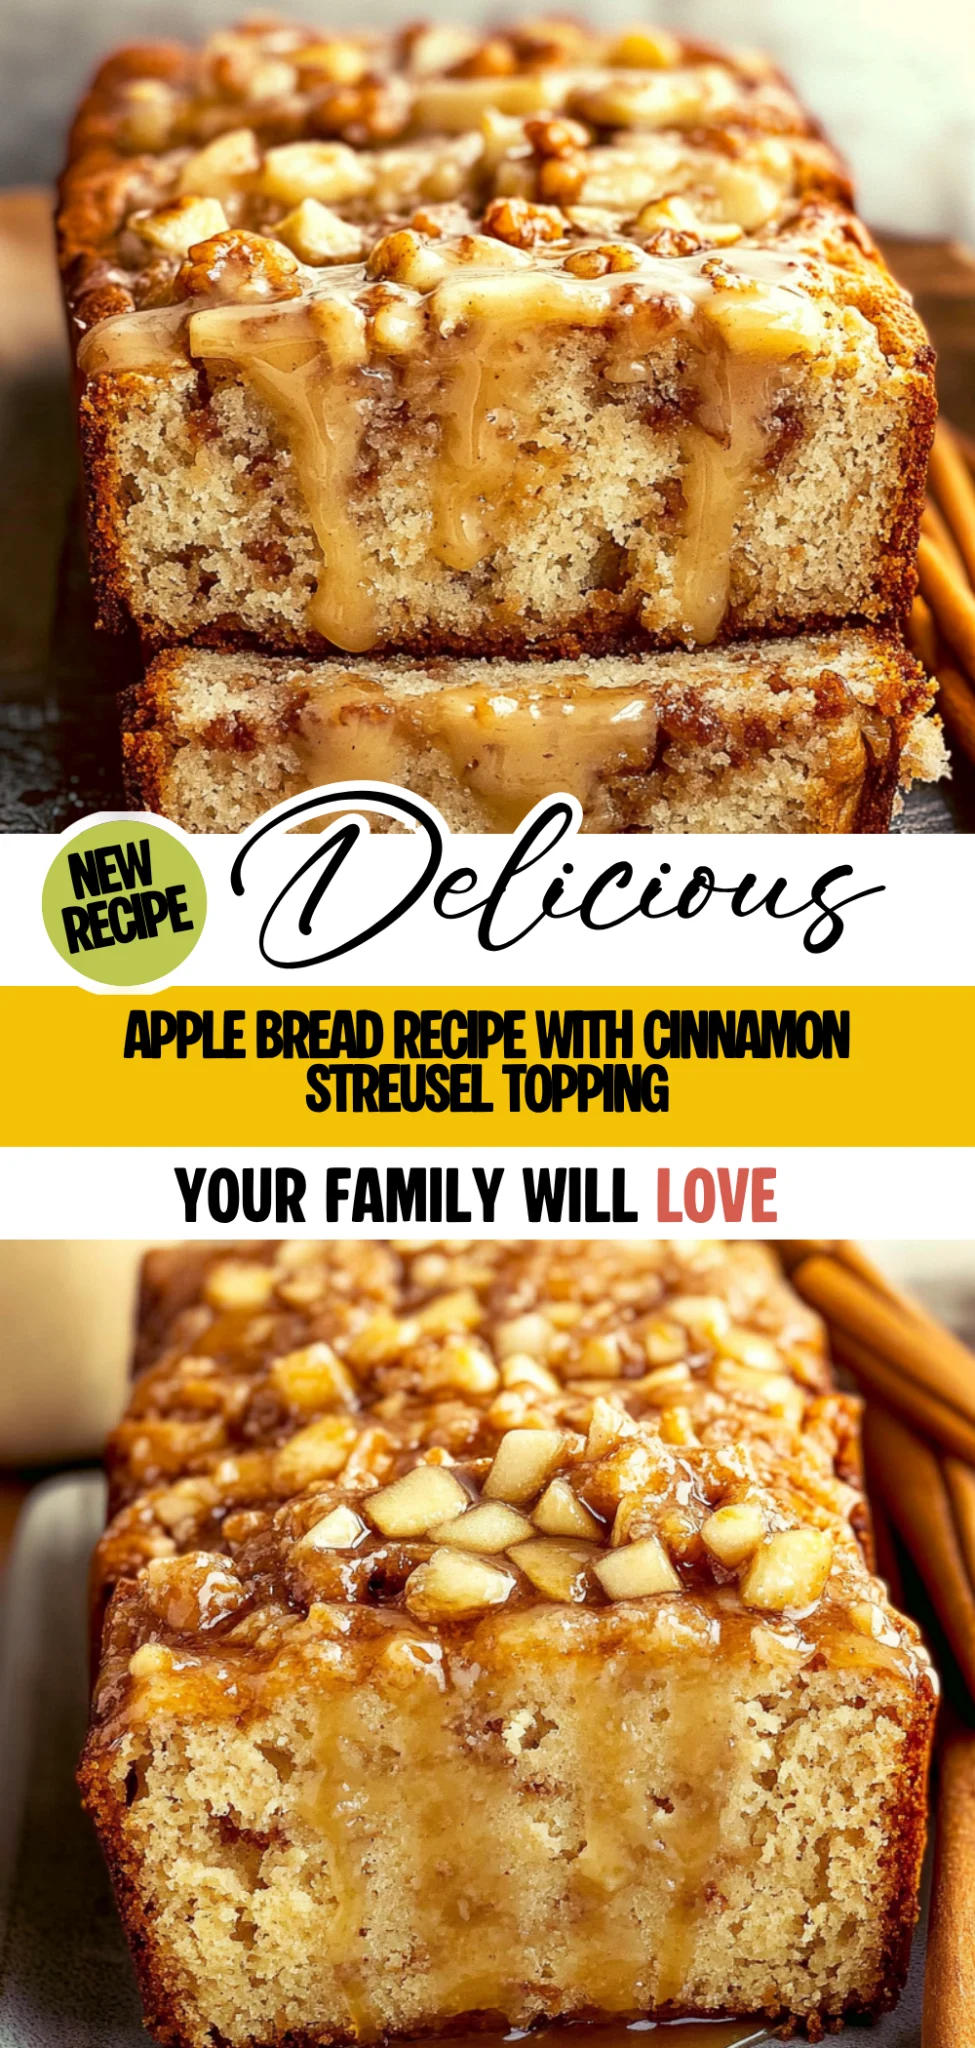
Are you ready to see how straightforward it is to make the Apple Bread Recipe of your dreams??
1. PREPARE THE OVEN AND PAN
Let’s get everything warmed up and ready for that delicious bread!
Bold action label – Preheat your oven to 350°F (175°C). This temperature is ideal for baking bread, ensuring it cooks evenly and develops a lovely golden crust. Grease a 9×5 inch loaf pan with butter or non-stick spray to prevent sticking when the bread is baked.
💡 TIP: Use parchment paper at the bottom of the pan for even easier removal!
HANDY TIPS
- Ensure your oven is fully preheated before placing the bread in; this helps it rise properly.
- If you don’t have a loaf pan, you can use a cake tin, but adjust the baking time accordingly.
2. MIX DRY INGREDIENTS
Now we’ll get those dry ingredients mixed up for the perfect base.
Bold action label – Whisk together 2 cups of all-purpose flour, 1 teaspoon of baking soda, 1 teaspoon of cinnamon, and 1 teaspoon of salt in a mixing bowl. This combines everything evenly and ensures that your bread has a consistent flavor and texture. The baking soda will help it rise while the cinnamon adds that warm spice aroma.
💡 TIP: Sifting the flour before measuring can help avoid clumps!
HANDY TIPS
- Make sure you measure your flour accurately—too much can lead to dense bread!
- The cinnamon not only enhances flavor but also complements the sweetness of apples beautifully.
3. COMBINE WET INGREDIENTS
Time to whip up those wet ingredients for a flavorful mix!
Bold action label – Mix together 1 cup of sugar, 1 cup of applesauce (or mashed ripe bananas), 2 large eggs, and 1 teaspoon of vanilla extract in another bowl until well combined. This mixture will keep your bread moist and add natural sweetness from the applesauce or bananas.
❓ Why does this matter? Because combining wet ingredients thoroughly ensures an even distribution of flavors throughout your bread!
HANDY TIPS
- If using bananas instead of applesauce, make sure they are very ripe for maximum sweetness.
- You can also add additional spices like nutmeg or ginger if you’re feeling adventurous!
4. COMBINE MIXTURES
We’re almost there! Let’s blend these mixtures together with care.
Bold action label – Gradually add the dry ingredients to the wet ingredients, stirring until just combined. Be careful not to overmix; a few lumps are okay! Overmixing can make your bread tough instead of light and airy.
Fold in the chopped apples (1 cup) along with any optional ingredients like walnuts or raisins at this stage. These additions enhance texture and flavor, making every bite delightful.
⚠️ Mixing Tip: Make sure not to skip folding in those chopped apples; they provide moisture and bursts of fruity flavor!
HANDY TIPS
- For added crunch, toast walnuts before folding them in—this brings out their nutty flavor.
- If you want a sweeter bread, consider adding more raisins or using brown sugar instead.
5. BAKE THE BREAD
Let’s bring all that hard work into the heat!
Bold action label – Pour the batter into your prepared loaf pan and smooth the top with a spatula for an even finish. Bake in the preheated oven for about 60 minutes or until a toothpick inserted into the center comes out clean. You’ll know it’s done when the bread has risen nicely and turned golden brown on top.
💡 TIP: If you notice the top browning too quickly, cover it loosely with aluminum foil halfway through baking.
HANDY TIPS
- Baking times may vary based on your oven—keep an eye on it as it approaches the hour mark.
- For extra flavor, sprinkle some cinnamon on top before baking!
6. COOL AND SERVE
The final step is crucial for taste and texture!
Bold action label – Allow the bread to cool in the pan for about 10 minutes before transferring it to a wire rack to cool completely before slicing. This helps maintain its structure and prevents sogginess at the bottom.
💡 TIP: To prevent steam from making your crust soggy while cooling, make sure not to cover it until it’s completely cooled.
That’s how simple it is! You’ve just baked a delicious apple bread that fills your home with warmth and comfort—perfect for breakfast or an afternoon snack! Each slice is packed full of apple goodness with hints of spice; I dare say it’s irresistible! Make this once, and I wager they will invade your dreams every night too! – Nagi x
FAQ – Apple Bread Recipe
🍏 How long will this apple bread keep?
Apple bread can be stored at room temperature for about 3 days, maintaining approximately 97% of its freshness on day 3. To extend its shelf life, you can refrigerate it for up to a week, although the texture may become slightly denser. If you want to keep it longer, freezing is a great option!
- Room Temperature: 3 days (best consumed fresh)
- Refrigerator: Up to 1 week (might dry out slightly)
- Freezer: Up to 3 months (best way to preserve moisture)
Just wrap it tightly in plastic wrap or aluminum foil before storing. ⚠️ Avoid leaving it uncovered as it can stale quickly!
⏰ Can I skip resting the batter before baking?
No, you cannot skip this step! Allowing the batter to rest for about 10 minutes helps hydrate the flour fully and leads to a moister bread. I found that skipping this step makes the bread denser and less flavorful. Trust me; I’ve tested this recipe enough times to know that a little patience goes a long way in baking!
❄️ Can I freeze apple bread for later?
Absolutely! This apple bread freezes beautifully. After baking and cooling completely, wrap it tightly in plastic wrap followed by aluminum foil to prevent freezer burn. You can freeze it for up to 3 months. When you’re ready to enjoy it again, simply thaw overnight in the fridge or at room temperature for a few hours — no need to rush this deliciousness!
🌾 Can I make this apple bread gluten-free?
Yes, you can! For a gluten-free version, swap out the all-purpose flour with a high-quality gluten-free flour blend that includes xanthan gum. I’ve tested this with brands like Bob’s Red Mill and King Arthur Flour, both of which performed well. Just make sure to check that your other ingredients (like baking soda) are also certified gluten-free.
🍌 What can I use instead of applesauce?
If you’re not keen on using applesauce or simply don’t have any on hand, mashed ripe bananas work as an excellent substitute! Use the same quantity — 1 cup — and you’ll still achieve that lovely moist texture. In my experience, bananas add a hint of extra sweetness and flavor; however, if you want an even lighter taste, consider using plain yogurt or buttermilk instead.
🥜 Can I add nuts or other fruits?
Definitely! This recipe is quite flexible when it comes to add-ins. I love adding chopped walnuts for some crunch, but you could also try pecans or chocolate chips if you’re feeling adventurous. Dried fruits like raisins or cranberries are great too — just stick with about 1 cup total of optional ingredients so that the balance of flavors stays right.
🔍 Why do I need to fold in the apples instead of mixing them in?
Folding gently allows you to incorporate the chopped apples without over-mixing the batter, which helps maintain its lightness and moisture. Over-mixing could lead to a tougher texture because you’re activating more gluten in the flour than desired. So take your time here; treat your batter with care! It’s worth it for that soft slice of heaven you’ll get in the end!
Troubleshooting
I will continue to add more to this Troubleshooting section as I start seeing questions coming through from people who have made the recipe.
Troubleshooting tips
“My apple bread came out too dense! 😩”
- Using too much flour can lead to a denser bread. Make sure you are measuring your flour accurately; spoon it into the measuring cup and level it off rather than scooping directly from the bag.
- Not mixing the wet and dry ingredients enough might also cause density. Ensure you combine them until just mixed, but don’t overmix, or you’ll develop the gluten in the flour too much!
I bet it still tasted divine though!
“My bread didn’t rise properly and looks flat! 😱”
- If your baking soda is old or expired, it won’t provide enough leavening power, resulting in a flat loaf. Always check the expiration date on your baking soda before using.
- Overmixing the batter after adding the dry ingredients can deflate the air bubbles needed for rising. Stir gently until just combined to keep that fluffy texture!
I’m sure it still made for a hearty snack, though!
“The crust of my apple bread is way too dark! 🔥”
- If your oven runs hot or if you placed your loaf pan on the bottom rack, it can lead to uneven browning. Consider using an oven thermometer to ensure accurate temperatures and move your pan to the center rack next time.
- Also, if you baked for longer than recommended without checking for doneness, that could cause over-browning. Set a timer and check a few minutes early next time!
At least it was still delicious inside!
“My apple bread came out too wet in the middle! 😳”
- Using too much applesauce can result in excess moisture. Stick to 1 cup as specified in the recipe — it’s perfect for achieving that moist texture without making it soggy.
- Also, not allowing enough baking time could leave the center undercooked. Remember that every oven is different; use a toothpick test to ensure it’s done before pulling it out!
I’m sure even with a gooey center, it was still super tasty!
“The top of my bread cracked and split while baking! 😬”
- This can happen if your oven temperature is too high. Make sure you’re baking at 350°F (175°C) as stated in the recipe — this helps ensure even cooking without cracking.
- Overmixing can also create more gluten, leading to cracks in the surface. Mix just until combined for a lovely rise without splitting!
No worries; those cracks just add character — and I bet it was still yummy!
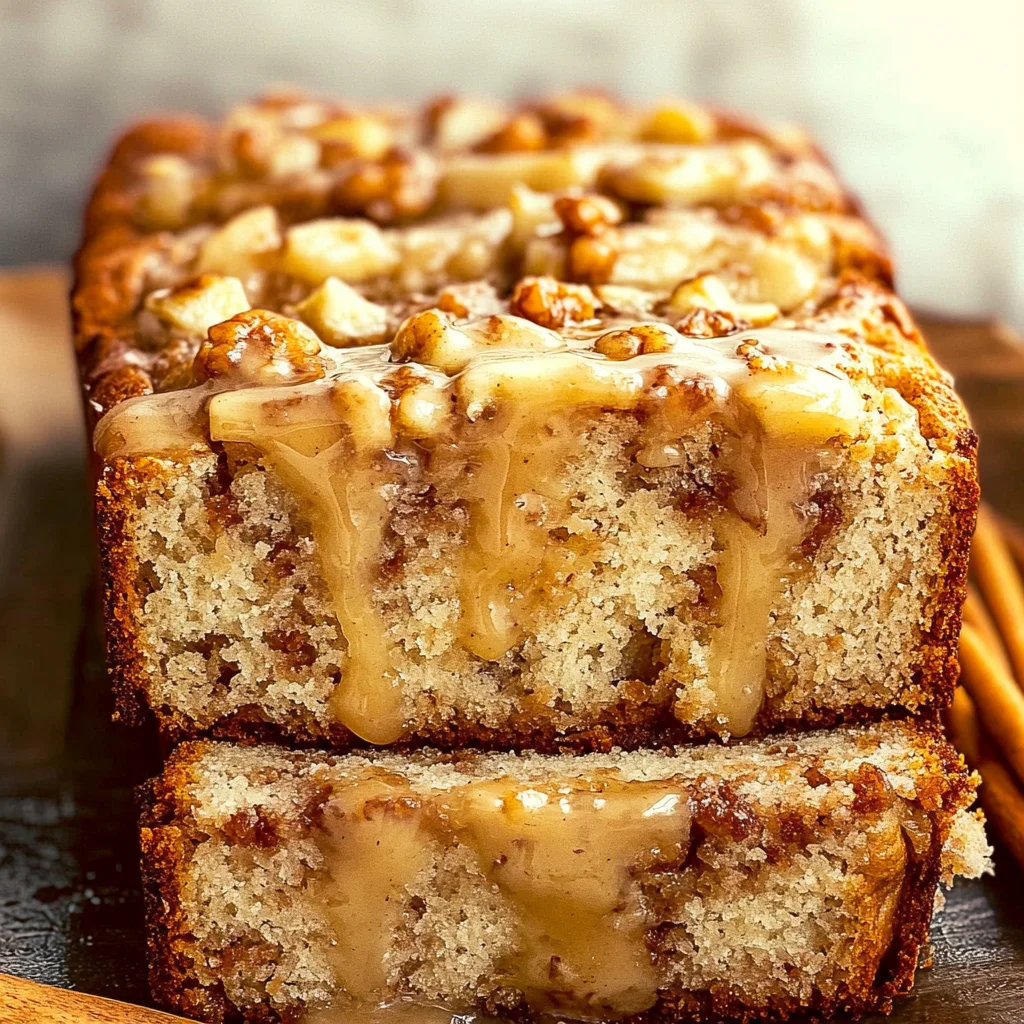
Apple Bread Recipe
Ingredients
Method
- Preheat your oven to 350°F (175°C). Grease a 9x5 inch loaf pan.
- In a mixing bowl, whisk together the flour, baking soda, cinnamon, and salt.
- In another bowl, mix the sugar, applesauce, eggs, and vanilla extract until well combined.
- Gradually add the dry ingredients to the wet ingredients, stirring until just combined.
- Fold in the chopped apples and any optional ingredients like walnuts or raisins.
- Pour the batter into the prepared loaf pan and smooth the top.
- Bake in the preheated oven for 60 minutes, or until a toothpick inserted into the center comes out clean.
- Allow the bread to cool in the pan for 10 minutes, then transfer to a wire rack to cool completely before slicing.