I still remember the first time I tasted focaccia breadsticks at this cozy little Italian restaurant tucked away in my neighborhood. The moment I took a bite, I was hooked—these soft, golden sticks were bursting with flavor and the perfect companion to a warm bowl of marinara. After that experience, I couldn’t shake the craving, and I thought, why not try making them at home? Not only would it save me a few bucks, but I was determined to create my own version that could rival those delectable sticks!
Let me tell you, perfecting my recipe for Focaccia Breadsticks wasn’t a walk in the park. It took me a solid six attempts (yes, six!) to get them just right. Each time, I’d tweak something—like the amount of olive oil or the proofing time—only to find myself with either breadsticks too dense or too greasy. You’d think I was trying to solve a culinary mystery! But hey, each flop brought me closer to that pillowy softness and irresistible flavor that had first captivated me.
Finally, after what felt like an eternity in breadstick limbo, I nailed it! The result is nothing short of magical: deliciously soft and flavorful focaccia breadsticks that are perfect as an appetizer or snack. They’re airy yet sturdy enough to hold up against your favorite dipping sauce, with a hint of rosemary that elevates every bite. Trust me when I say you’ll want these on your table—they’ve officially become my go-to treat! Get ready to roll up your sleeves and dive into this recipe; you’re going to love them as much as I do!
These Focaccia Breadsticks are…
…a delightful combination of flavor and texture that will have you craving more with every bite!
1. They deliver an irresistible aroma that fills your kitchen, thanks to the perfect blend of warm water and active dry yeast. The yeast activates beautifully with a touch of sugar, creating a fragrant dough that sets the stage for these incredible breadsticks.
2. Incredibly soft texture – each bite is a heavenly experience with a tender, pillowy interior. The use of high-quality all-purpose flour combined with olive oil ensures that these focaccia breadsticks are not only light but also wonderfully chewy.
3. They feature a simple yet effective technique that elevates them above the average breadstick. By allowing the dough to rise in a warm environment, we achieve maximum fluffiness and flavor, creating that signature focaccia-style dough everyone loves.
4. Budget-friendly value – making these focaccia breadsticks at home is not only easier than you think but also much more economical than purchasing them from a bakery. With just a few common ingredients like flour, yeast, and olive oil, you can whip up a fresh batch without breaking the bank!
PS These focaccia breadsticks yield about 12 delicious pieces and are best enjoyed fresh out of the oven for that perfect combination of warmth and flavor!
Ingredients for the Focaccia Breadsticks
Each ingredient in this dish plays an essential role in flavor and texture. Here’s what you’ll need:
- 2 cups all-purpose flour (plus more for dusting): Provides the structure and chewy texture of the breadsticks.
- 1 cup warm water (about 110°F): Activates the yeast, helping the dough rise beautifully.
- 1 packet active dry yeast (or 2 1/4 teaspoons): The key leavening agent that creates a light and airy texture.
- 1 teaspoon sugar (to activate yeast): Feeds the yeast for optimal fermentation and adds a hint of sweetness.
- 1 teaspoon salt (for flavor): Enhances all the other flavors in the dough, making it more delicious.
- 2 tablespoons olive oil (plus more for drizzling): Adds richness to the dough and contributes to a golden crust.
- 1 teaspoon sea salt (for sprinkling): Provides a burst of salty flavor on top of each breadstick.
- 1 tablespoon fresh rosemary (chopped, optional): Infuses a fragrant herbal note that elevates the overall taste.
- 2 tablespoons parmesan cheese (grated, optional): Adds a savory depth and richness to each bite.
You MUST let the dough rise. No shortcuts!
I get it—waiting for dough to rise can feel like watching paint dry. I tried to rush it once, thinking “Why not? It’s just breadsticks!” Spoiler alert: I learned the hard way that skipping this crucial step leads to sad, flat breadsticks that are more dense than delightful. Trust me, you don’t want to skip this.
Letting the dough rise is essential because it allows the yeast to work its magic. Think of it as a mini vacation for your dough; during this time, the yeast ferments and produces carbon dioxide, which creates those lovely little air pockets. Without this rising period, your breadsticks will miss out on that airy texture and soft crumb we all crave. So resist the temptation to cut corners—your taste buds will thank you!
What does letting the dough rise do?
- Texture — The rise creates air pockets that make your focaccia breadsticks soft and fluffy rather than dense and chewy.
- Flavor — Yeast fermentation enhances natural flavors in the dough, resulting in a richer taste that you can’t replicate with extra salt or herbs.
- Volume — Allowing the dough to rise doubles its size, ensuring your breadsticks have that perfect thickness instead of being flat and lifeless.
- Color — A proper rise contributes to a beautiful golden-brown crust during baking as more sugars develop in the dough.
- Shelf life — Properly risen focaccia stays fresher longer because of its improved structure, allowing it to maintain moisture better than rushed versions.
Different rising times
- 30 minutes (good) — Adequate but results in denser breadsticks with fewer air pockets; still edible but missing that lightness.
- 1 hour (better) — The minimum recommended time for good flavor and texture; noticeable improvement over 30 minutes but still not optimal.
- 2 hours (great) — Ideal for maximizing flavor development and achieving a beautifully soft texture; perfect if you can wait!
- Longer than 2 hours (best) — If you let it rise longer, such as 3 hours or even overnight in the fridge, you’ll enhance flavors even more, but be careful not to let it overproof or risk drying out.
Don’t underestimate the importance of letting your dough rise! A common mistake is thinking you can rush this step or skip it altogether. If you do, expect breadsticks that are disappointingly flat and dense instead of soft and pillowy. Just don’t do it!
How to make Focaccia Breadsticks
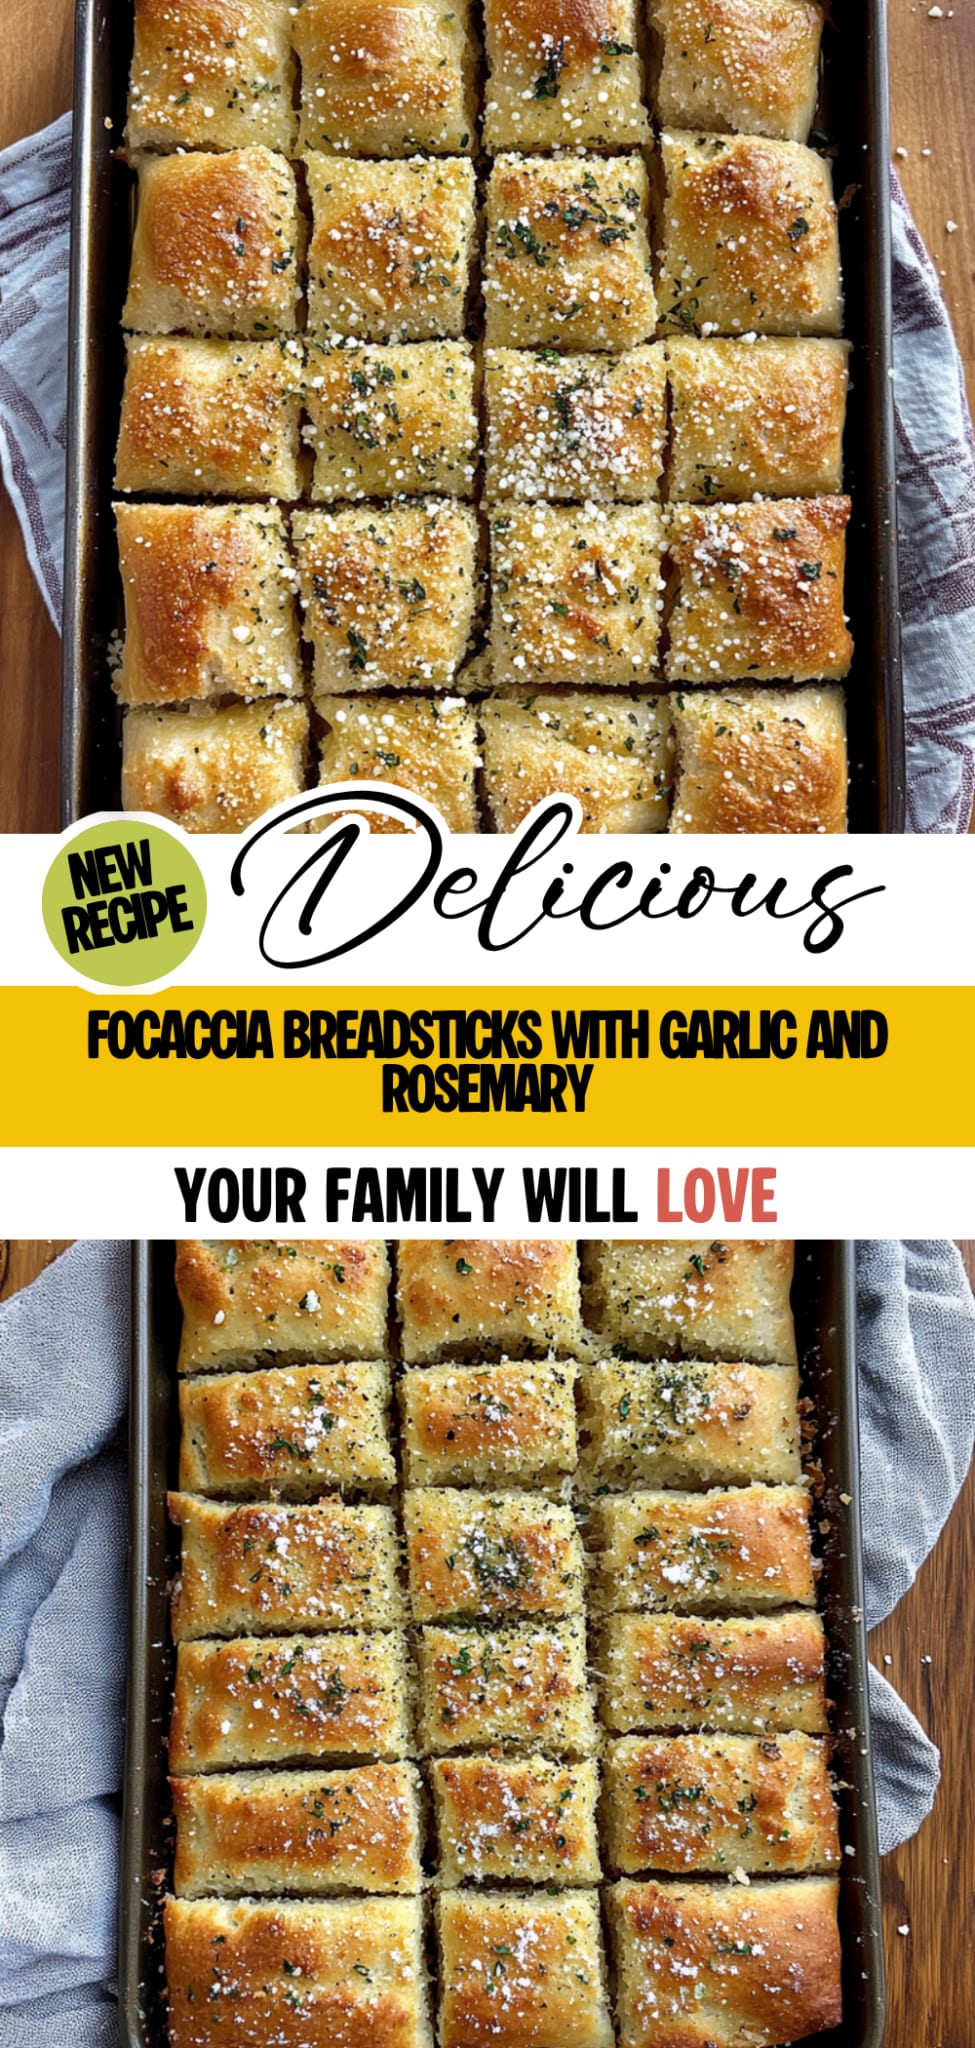
Are you ready to see how straightforward it is to make the Focaccia Breadsticks of your dreams??
1. PREPARE THE DOUGH
Let’s get that delicious dough started!
1. COMBINE – In a mixing bowl, combine warm water, sugar, and yeast. Let it sit for about 5 minutes until frothy. This step is crucial because it activates the yeast, ensuring your breadsticks rise beautifully.
2. MIX – Add flour, salt, and olive oil to the yeast mixture. Mix until a dough forms. The olive oil not only adds flavor but also helps create a tender texture in the breadsticks.
3. KNEAD – Knead the dough on a floured surface for about 5 minutes until smooth. This develops the gluten structure necessary for that perfect chewy bite we all love.
4. RISE – Place the dough in a greased bowl, cover with plastic wrap, and let it rise in a warm place for 1 hour or until doubled in size. This is where the magic happens!
HANDY TIPS
- If your kitchen is cool, try preheating your oven for just a minute or two, then turn it off and let the dough rise inside.
- For fluffier breadsticks, ensure your water is around 110°F; too hot can kill the yeast!
2. SHAPE AND BAKE
Time to transform that dough into irresistible breadsticks!
5. PREHEAT – Preheat the oven to 400°F (200°C). A hot oven is key for getting that lovely golden crust on your breadsticks!
6. ROLL OUT – Once the dough has risen, punch it down and roll it out into a rectangle about 1/2 inch thick. This ensures even baking and perfect thickness for those delightful sticks!
7. CUT – Cut the dough into strips to form breadsticks. You can make them as thick or thin as you like—just remember that thinner strips will bake faster!
8. TOPPING – Place the breadsticks on a baking sheet lined with parchment paper. Brush with olive oil and sprinkle with sea salt, rosemary, and parmesan cheese if desired. The toppings add an extra layer of flavor that makes these sticks truly irresistible!
9. BAKE – Bake in the preheated oven for 20-25 minutes or until golden brown. Keep an eye on them; you’ll know they’re ready when they’re fragrant and have that gorgeous golden hue!
10. COOL – Remove from the oven and let cool slightly before serving so you don’t burn your tongue on those deliciously soft insides!
HANDY TIPS
- For extra flavor, try adding minced garlic along with your toppings!
- If you’re feeling adventurous, experiment with different herbs like thyme or oregano instead of rosemary.
Make these once, and I wager they will invade your dreams every night too! – Nagi x
FAQ – Focaccia Breadsticks
🥖 How long will these breadsticks keep?
Focaccia breadsticks are best enjoyed fresh but can be stored for later use. In an airtight container at room temperature, they will remain good for about 2 days. After that, they start to lose their delightful texture and flavor—I’d say they’re about 85% as good on day 3. If you refrigerate them, they’ll last about a week, but they may become a bit dry. To revive them, pop them in the oven for a few minutes before serving!
⏲️ Can I skip the dough rising time?
Nope, you really can’t skip it! The rising time is crucial because it allows the yeast to ferment and produce gas, which makes the dough light and airy. I recommend letting it rise for a full hour or until it has doubled in size. If you’re short on time, you could try a warm spot—like near an oven— to speed things up a bit. But trust me, patience is key here; your taste buds will thank you later!
❄️ Can I freeze these breadsticks for later?
Yes, you can definitely freeze focaccia breadsticks! Once they’ve cooled completely after baking, place them in a single layer on a baking sheet to freeze individually. After they’re frozen solid, transfer them to a freezer-safe bag or container. They will keep well for up to 3 months. When you’re ready to enjoy them, thaw overnight in the fridge or pop them straight into the oven from frozen for about 10-15 minutes at 350°F (175°C) until heated through.
🌾 Can these be made gluten-free?
Absolutely! To make gluten-free focaccia breadsticks, substitute the all-purpose flour with a quality gluten-free flour blend that contains xanthan gum. I’ve had success using brands like Bob’s Red Mill or King Arthur Flour’s gluten-free blend. Just keep in mind that the texture might differ slightly—it could be denser than traditional breadsticks—but they’ll still be delicious!
🧂 What can I use instead of olive oil?
If you’re out of olive oil or just want to try something different, you can substitute it with melted butter or another neutral oil like vegetable or canola oil. However, using olive oil brings a distinct flavor that complements the breadsticks perfectly. For those looking to cut calories or fat, unsweetened applesauce can be used as a lesser substitute but might alter the final taste and texture slightly.
🤔 Why do I need to knead the dough?
Kneading is essential because it develops the gluten in the dough, which gives your breadsticks their structure and chewiness. During kneading, you’re aligning those gluten strands so that when they rise during baking, they create an airy texture instead of being dense and heavy. I usually knead for about 5 minutes, just until it feels smooth and elastic—too much kneading can lead to tough breadsticks!
🔄 Can I add other toppings or flavors?
Definitely! The beauty of focaccia breadsticks is their versatility. You can customize them by adding ingredients like minced garlic, sun-dried tomatoes, olives, or even different herbs such as thyme or basil instead of rosemary! Feel free to get creative with your toppings—just keep in mind that some additions may require adjustments in baking time depending on moisture content!
Troubleshooting
I will continue to add more to this Troubleshooting section as I start seeing questions coming through from people who have made the recipe.
Troubleshooting tips
“My breadsticks are too flat! 😩”
- Your dough may not have risen enough. If the warm place wasn’t warm enough or you didn’t let it rise long enough, it won’t have the airiness needed for a fluffy texture.
- You might have knocked out too much air when shaping the breadsticks. Handle your dough gently when rolling it out to maintain that lovely fluffiness.
I bet they were still YUM though!
“My focaccia breadsticks are way too tough! 😢”
- Over-kneading can lead to tough breadsticks. If you knead longer than 5 minutes, the gluten develops too much, making them chewy instead of soft.
- You might have added too much flour while dusting your surface. Flour is sneaky; a little too much can dry out your dough!
I bet they were still YUM though!
“The color on my breadsticks is uneven! 🔥”
- If your oven isn’t properly preheated at 400°F (200°C), it can cause uneven baking. Make sure to preheat and use an oven thermometer if necessary for accuracy.
- The position of your baking sheet in the oven can affect browning; if it’s too close to the top or bottom, you might end up with some parts darker than others.
I bet they were still YUM though!
“Why do my breadsticks look wonky? 😅”
- If you didn’t roll out your dough evenly into a rectangle about 1/2 inch thick, some strips will bake differently than others, resulting in uneven sizes and shapes.
- Cutting the dough into strips before they’re fully settled can also lead to misshapen breadsticks. Allow them a moment to relax after cutting!
I bet they were still YUM though!
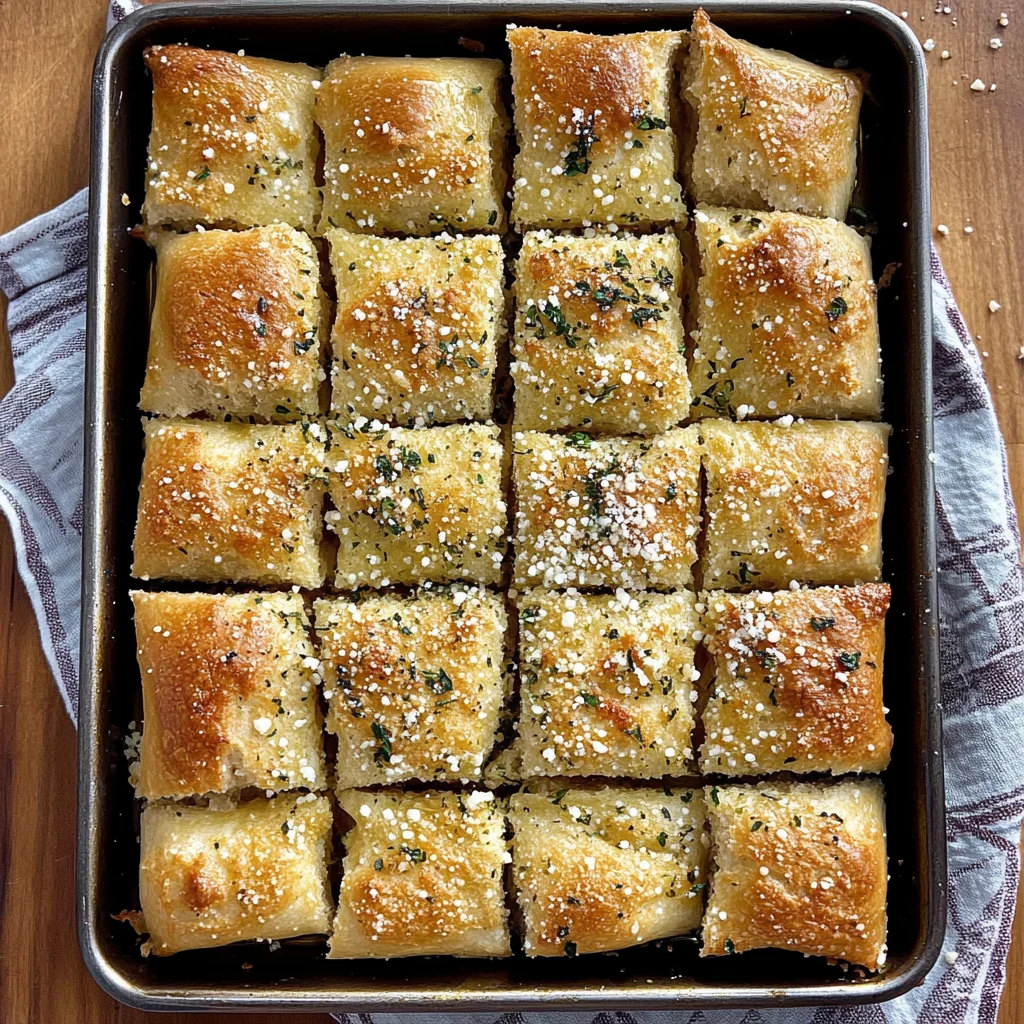
Focaccia Breadsticks
Ingredients
Method
- In a mixing bowl, combine warm water, sugar, and yeast. Let it sit for about 5 minutes until frothy.
- Add flour, salt, and olive oil to the yeast mixture. Mix until a dough forms.
- Knead the dough on a floured surface for about 5 minutes until smooth.
- Place the dough in a greased bowl, cover with plastic wrap, and let it rise in a warm place for 1 hour or until doubled in size.
- Preheat the oven to 400°F (200°C).
- Once the dough has risen, punch it down and roll it out into a rectangle about 1/2 inch thick.
- Cut the dough into strips to form breadsticks.
- Place the breadsticks on a baking sheet lined with parchment paper. Brush with olive oil and sprinkle with sea salt, rosemary, and parmesan cheese.
- Bake in the preheated oven for 20-25 minutes or until golden brown.
- Remove from the oven and let cool slightly before serving.