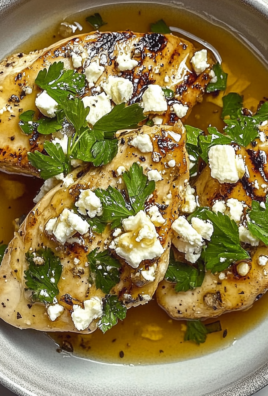
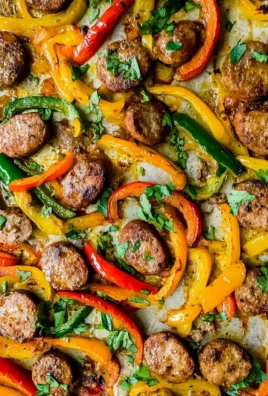
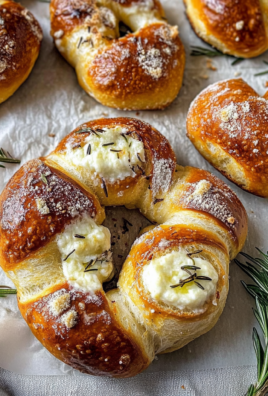
I first stumbled upon the idea for Cheesy Pesto Baked Chicken during a late-night binge of cooking shows, where a chef whipped up a similar dish that had my taste buds doing the cha-cha. There was just something about the gooey mozzarella melting over perfectly seasoned chicken, all topped with vibrant green pesto that screamed comfort food. I knew I had to recreate it at home—not just because takeout can be pricey, but also because I was determined to make it even better than what I’d seen on screen. Plus, who doesn’t love an excuse to make cheesy goodness?
After several attempts (and a few too many kitchen disasters that involved what I can only describe as “creative” burns and an alarming amount of cheese), I finally nailed down my version of Cheesy Pesto Baked Chicken. It took me about five tries to get the balance just right between the juicy chicken and that creamy, cheesy topping without the pesto overpowering everything. Let’s just say my first couple of experiments had me questioning my culinary skills—how hard could it be to bake chicken, right? Spoiler alert: very!
But let me tell you, the payoff was absolutely worth it! This dish is a glorious combination of textures and flavors; you’ll adore the tender chicken enveloped in melted mozzarella and that herbaceous kick from the pesto. It’s cheesy, it’s comforting, and honestly, it elevates a humble ingredient into something spectacular. So grab your apron and get ready to impress your taste buds—trust me, you won’t regret diving into this Cheesy Pesto Baked Chicken adventure!
These Cheesy Pesto Baked Chicken are…
…a guaranteed crowd-pleaser that will have everyone coming back for seconds!
1. They deliver an explosive flavor that combines the freshness of pesto with cheesy goodness. The vibrant basil in the pesto infuses the chicken with a rich herbaceous aroma, making every bite feel like a gourmet experience right at home.
2. Enjoy a deliciously tender texture with perfectly cooked chicken that remains juicy throughout. By baking the boneless, skinless chicken breasts, I ensure they retain their moisture while soaking up all the delightful flavors from the pesto and cheeses.
3. Easy technique — a simple layer of pesto and cheese transforms basic chicken into something extraordinary. This method not only enhances the dish but also makes it accessible for anyone, regardless of cooking skill level, to achieve restaurant-quality results right in their kitchen.
4. A true budget-friendly option — this Cheesy Pesto Baked Chicken is affordable yet satisfying, especially when you consider how much you would spend dining out for a similar dish. With just a handful of ingredients, it’s an easy weeknight meal that doesn’t compromise on taste or quality.
PS This recipe yields 4 hearty servings, making it perfect for family dinners or meal prep!
Ingredients for the Cheesy Pesto Baked Chicken
Each ingredient in this dish plays an essential role in flavor and texture. Here’s what you’ll need:
4 pieces boneless, skinless chicken breasts: These provide a tender and juicy base for the dish.
1 cup store-bought or homemade pesto: Infuses the chicken with vibrant herby flavors.
1 cup shredded mozzarella cheese: Melts beautifully to create a rich, gooey topping.
1/2 cup grated Parmesan cheese: Adds a savory depth that enhances the overall flavor.
1 teaspoon salt (to taste): Enhances all the flavors and balances the richness of the cheeses.
1/2 teaspoon black pepper (to taste): Introduces a subtle kick that complements the other ingredients.
- 1 teaspoon garlic powder: Brings warmth and aromatic richness to the dish.
You MUST season the chicken properly. Don’t skip this step!
I’ll admit it — I tried to rush through this step, thinking that maybe, just maybe, a sprinkle of salt would suffice. Spoiler alert: I was wrong. After several batches of bland chicken that tasted like cardboard, I realized that proper seasoning is non-negotiable for achieving the ultimate flavor in your Cheesy Pesto Baked Chicken.
Why is this so critical? Think of it like giving your chicken a warm hug before it gets all cozy under that cheesy pesto blanket. When you season the chicken with salt, pepper, and garlic powder, you’re enhancing its natural flavors and ensuring that every bite is bursting with deliciousness. Otherwise, the only thing you’ll be tasting is the sauce and cheese — and who wants a lackluster chicken hiding beneath all that gooey goodness?
What does seasoning do?
- Flavor enhancement — Properly seasoning the chicken allows the spices to penetrate, making each bite more flavorful rather than relying solely on the toppings.
- Balanced taste — The combination of salt and garlic powder creates a savory profile that complements the richness of the cheese and pesto.
- Moisture retention — Salt helps to draw moisture into the chicken while it cooks, making it juicier and less likely to dry out.
- Improved texture — Seasoned chicken has a more appealing mouthfeel; it feels more satisfying compared to bland versions.
- Golden crust formation — Even with a topping of cheese, seasoned chicken develops a lovely golden color as it bakes, making your dish visually appetizing.
Different seasoning levels
- No seasoning (poor) — The chicken is utterly bland; all you taste is cheese and pesto without any depth or character.
- Light sprinkle (fair) — Some flavor comes through but isn’t enough to elevate the dish. You might notice a slight difference, but not much.
- Proper seasoning (good) — The chicken shines! Each bite bursts with flavor against the cheesy backdrop of pesto delight.
- Over-seasoning (risky) — Too much salt can overpower everything; balance is key here! Your beautiful dish could become inedible.
If you think you can just toss your chicken in without proper seasoning, think again! This is where too many home cooks go wrong. Forgetting to season or skimping on it will leave you with bland, disappointing results that even melted cheese can’t save. So please, don’t shortchange yourself on flavor!
How to make Cheesy Pesto Baked Chicken
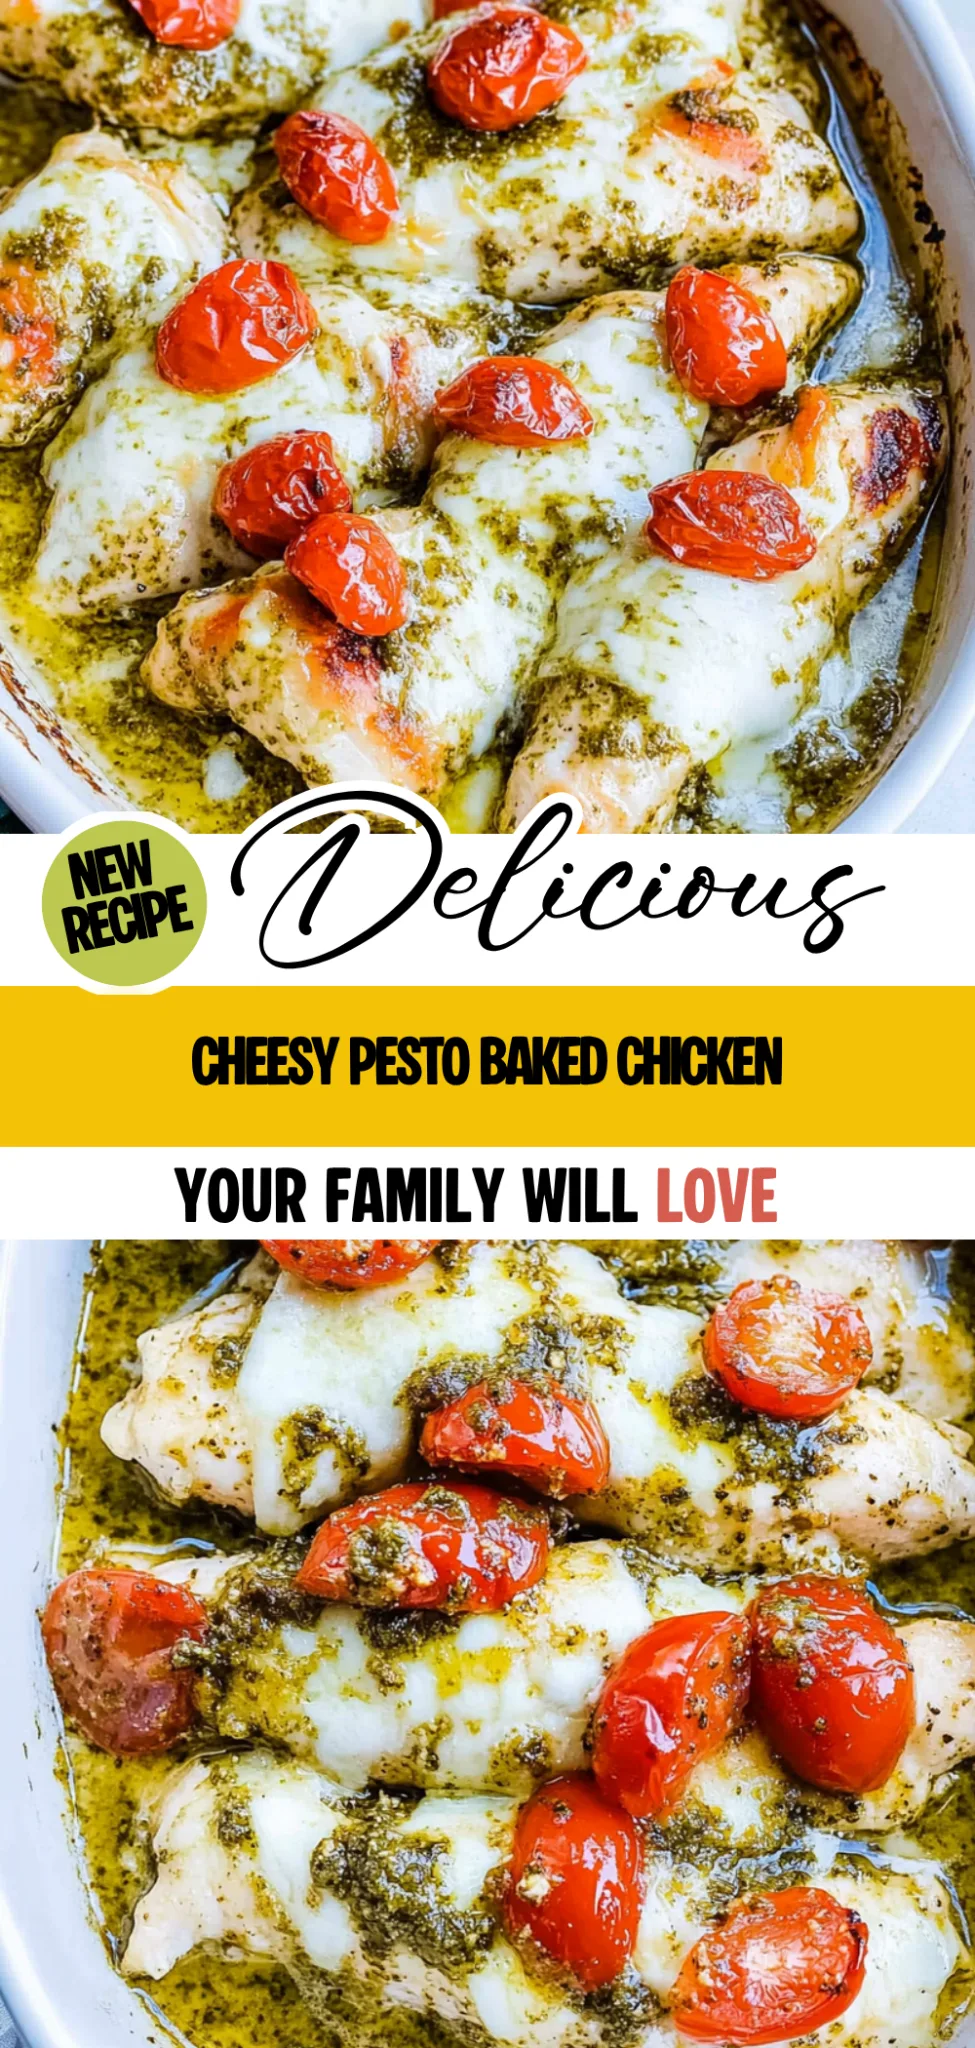
Are you ready to see how straightforward it is to make the Cheesy Pesto Baked Chicken of your dreams??
1. PREPARE THE CHICKEN
Let’s kick things off by getting our chicken ready for its cheesy transformation!
1. Preheat – Preheat your oven to 375°F (190°C). This ensures that your chicken will cook evenly and thoroughly, resulting in that perfect juicy texture we all love.
2. Season – Season the chicken breasts generously with salt, black pepper, and garlic powder. This simple step adds essential flavor to the chicken before it gets smothered in pesto and cheese.
HANDY TIPS
- For a little extra flavor, consider marinating the chicken in olive oil and spices for 30 minutes before seasoning.
- If using fresh garlic instead of garlic powder, finely mince one clove and mix it with the other seasonings.
2. ASSEMBLE THE DISH
Now comes the fun part—layering on all that deliciousness!
3. Spread – Spread a generous layer of pesto evenly over the top of each seasoned chicken breast. This not only adds a burst of flavor but also helps keep the chicken moist during baking.
4. Sprinkle – Sprinkle the shredded mozzarella cheese and grated Parmesan cheese over the pesto-covered chicken. The combination of these cheeses creates a rich, gooey topping that’s simply irresistible.
HANDY TIPS
- If you prefer a bit more texture, mix in some chopped sun-dried tomatoes into the pesto before spreading.
- Cheese lovers can add an extra layer of mozzarella for that ultra-cheesy experience!
3. BAKE THE CHICKEN
It’s time to bake our masterpiece!
5. Bake – Place the chicken in a baking dish and bake it in the preheated oven for 25-30 minutes, or until the chicken is cooked through and the cheese is bubbly and golden brown. You want that gooey cheese look!
6. Check – After baking, check the internal temperature of the chicken; it should reach 165°F (75°C) to ensure it’s perfectly safe to eat.
HANDY TIPS
- If your cheese isn’t browning as desired, pop it under the broiler for an additional minute—just keep an eye on it!
- For juicier results, let the chicken rest for about 5 minutes after baking before serving; this allows the juices to redistribute.
4. SERVE
Let’s get ready to dig into this scrumptious dish!
7. Remove – Carefully remove the cheesy pesto baked chicken from the oven and let it rest for a few minutes before serving. This short wait will reward you with tender slices!
8. Serve – Serve hot with your choice of side dishes like steamed veggies or a fresh salad to balance out all that cheesy goodness.
What an incredible meal you’ve just created! The combination of tender chicken, vibrant pesto, and melty cheeses makes each bite heavenly—and it’s so easy to whip up in just 45 minutes! I can’t wait for you to enjoy this dish as much as I do! – Nagi x
FAQ – Cheesy Pesto Baked Chicken
❓ How long can I store the leftovers?
You can store the leftover Cheesy Pesto Baked Chicken in an airtight container in the refrigerator for up to 3 days. After that, the quality starts to decline — expect it to be around 90% as good on day 4 and about 80% on day 5. To reheat, simply pop it back in the oven at a low temperature to maintain that gooey cheese texture.
⏳ Do I really need to let the chicken rest before serving?
Yes, absolutely! Resting your chicken for about 5 minutes after baking is crucial. This allows the juices to redistribute throughout the meat, resulting in a much juicier bite. If you skip this step, you might end up with a drier chicken experience — and nobody wants that!
❄️ Can I freeze Cheesy Pesto Baked Chicken?
You can definitely freeze this dish! Allow it to cool completely, then wrap each piece tightly in plastic wrap and place them in an airtight freezer bag. It will stay fresh for up to 3 months. When you’re ready to enjoy it again, thaw it overnight in the refrigerator before reheating it in the oven or microwave until heated through.
🌱 Can I make this recipe dairy-free?
While this recipe relies heavily on cheese for flavor and creaminess, you can make some adjustments for a dairy-free version. Substitute the mozzarella with a dairy-free cheese alternative and skip the Parmesan or use a vegan Parmesan substitute. Just keep in mind that the texture and taste will differ slightly — but hey, we all have our dietary preferences!
🍗 What if I want to use bone-in chicken instead of boneless?
If you prefer bone-in chicken pieces, adjust your cooking time accordingly. Bone-in chicken generally requires about 10-15 minutes longer than boneless chicken breasts at 375°F (190°C). Always ensure that the internal temperature reaches 165°F (75°C) for safe consumption.
🤔 Why do I need to season the chicken before adding pesto?
Seasoning your chicken breast with salt, pepper, and garlic powder enhances its natural flavor before it’s topped with pesto and cheese. Without proper seasoning, you may end up with bland chicken under all that deliciousness. Trust me; I’ve tested this multiple times, and seasoning is non-negotiable!
🧀 Can I use a different type of cheese?
Absolutely! While mozzarella and Parmesan are my go-to choices for their meltiness and depth of flavor, feel free to experiment with other cheeses like gouda or provolone for different flavors. Just be sure they melt well so you still get that delightful gooey topping effect!
Troubleshooting
I will continue to add more to this Troubleshooting section as I start seeing questions coming through from people who have made the recipe.
Troubleshooting tips
“My chicken came out dry and tough! 😭”
- Your chicken breasts may have been overcooked. Baking for too long can dry them out, so make sure to check the internal temperature at 25 minutes.
- If your chicken breasts were particularly large or thick, they might need a little extra cooking time, but be cautious! It’s best to use a meat thermometer to ensure they stay juicy.
I bet they were still YUM though!
“The cheese didn’t melt properly and looked sad! 😢”
- If the cheese didn’t melt well, it could be that your oven wasn’t fully preheated before baking. Make sure to give it a good 10-15 minutes to reach 375°F (190°C) before popping in the chicken.
- You might also want to consider using freshly shredded mozzarella instead of pre-shredded; the latter often contains anti-caking agents that can affect melting.
I bet they were still YUM though!
“My chicken turned out unevenly cooked! 🤔”
- If you placed your chicken breasts too close together in the baking dish, they might not cook evenly. Make sure there’s some space between each piece for hot air to circulate.
- Also, if you didn’t pound your chicken breasts to an even thickness, thicker areas may take longer to cook than thinner parts. A quick tenderizing session can help with this next time!
I bet they were still YUM though!
“The top of my chicken is pale and unappetizing! 🥱”
- If you find yourself with a pale surface on your baked chicken, it could be due to not broiling it briefly after baking. A few minutes under the broiler can give that beautiful golden finish.
- Additionally, ensure you’ve spread enough pesto on top; if it’s too thin, it won’t brown as nicely under the heat.
I bet they were still YUM though!