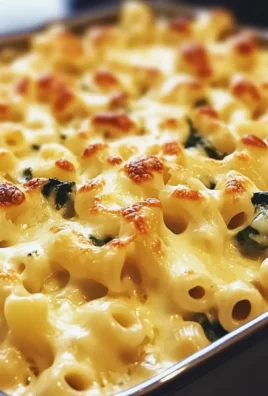
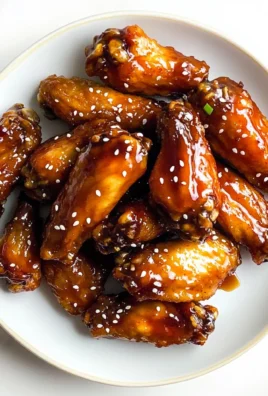
I first stumbled upon the idea of Baked Crunchy Hot Honey Chicken during one of my late-night food escapades on Instagram. There was this little restaurant that showcased a dish with a mesmerizing combination of heat and sweetness, perfectly coated in a crunchy crust that made my mouth water just through the screen. I knew I had to recreate it at home, not only because I wanted to indulge in that flavor explosion without breaking the bank but also because, let’s be honest, I thought I could do it even better than they did!
After several attempts — and a few minor kitchen disasters that involved more smoke than I care to admit — I finally nailed down this recipe. It took me about a week of tweaking flavors, testing various coatings, and searching for that perfect balance between spicy and sweet. I aimed to create a dish that would make everyone forget about takeout and instead look forward to dinner at home. Spoiler alert: there were moments when I thought my oven might be plotting against me!
But oh boy, was it worth every trial! The final result is nothing short of spectacular: succulent chicken enveloped in a crunchy coating that sings with both heat and sweetness. Each bite delivers an irresistible crunch followed by a delightful kick that lingers just enough to keep you coming back for more. Trust me when I say this Baked Crunchy Hot Honey Chicken will steal the show at your dinner table — get ready to impress!
These Baked Crunchy Hot Honey Chicken are…
…a game changer for your dinner table that beautifully balances sweet and spicy with a satisfying crunch!
1. They deliver an explosive flavor that perfectly marries sweet and heat, thanks to the homemade hot honey sauce. The combination of honey, hot sauce, and apple cider vinegar creates a complex flavor profile that’s both irresistible and memorable, elevating the taste of the chicken thighs to new heights.
2. Incredible crunchiness – each bite features a satisfying crispy coating that you can’t get enough of! The panko breadcrumbs are key here; their airy texture provides an unbeatable crunch that holds up beautifully during baking, making every piece of chicken a delight to munch on.
3. A smart technique is employed by using bone-in, skin-on chicken thighs which not only enhances the flavor but also allows for even cooking. This method ensures the meat remains juicy while the skin crisps up fantastically, resulting in perfectly tender chicken enveloped in a crunchy shell.
4. They offer exceptional value compared to takeout options — making them at home is not just about saving money but also about enjoying fresher ingredients tailored to your taste! With just four pieces of chicken thighs and simple pantry staples, you can whip up this delightful dish without breaking the bank or sacrificing quality.
PS These Baked Crunchy Hot Honey Chicken yield four hearty servings, making them perfect for family dinners or meal prep throughout the week!
Ingredients for the Baked Crunchy Hot Honey Chicken
Each ingredient in this dish plays an essential role in flavor and texture. Here’s what you’ll need:
- 4 pieces chicken thighs (bone-in, skin-on): These bring deep flavor and juicy texture.
- 1 cup panko breadcrumbs: Provides an extra crunchy coating that enhances each bite.
- 1 teaspoon paprika: Adds a subtle smokiness and vibrant color to the crust.
- 1 teaspoon garlic powder: Infuses a warm, savory depth into the coating.
- 1 teaspoon onion powder: Contributes a gentle sweetness that balances the spices.
- 1 teaspoon salt: Essential for enhancing all the flavors in the coating and chicken.
- 1/2 teaspoon black pepper: Offers a mild heat that complements the other seasonings.
- 1/2 cup honey: Delivers a rich sweetness that contrasts beautifully with the spice.
- 2 tablespoons hot sauce (adjust to taste): Brings heat and tanginess for a kick of flavor.
- 1 tablespoon apple cider vinegar: Adds acidity to brighten the honey’s sweetness.
Pressing the Coating is Essential. No Skipping!
I’ll be honest: I tried to take a shortcut and just lightly dusted the chicken thighs with the breadcrumb mixture. Spoiler alert: it didn’t work out. The coating barely stuck, and my dreams of crispy perfection crumbled (literally). After several attempts, I learned that pressing the coating onto the chicken is non-negotiable if you want that glorious crunch.
So why is this step so crucial? Think of it like applying paint to a wall — if you just sprinkle it on, it won’t adhere properly and will look patchy. When you press the breadcrumb mixture firmly onto the chicken thighs, you create a solid bond that not only enhances texture but also ensures every bite is coated with flavor. It’s what makes your Baked Crunchy Hot Honey Chicken truly finger-licking good!
What does pressing the coating do?
- Improves texture — Pressing creates a firm connection between the breadcrumbs and chicken, resulting in a super crunchy exterior.
- Enhances flavor distribution — A well-adhered coating means each bite is packed with all those amazing spices and seasoning.
- Promotes even cooking — The pressed coating helps retain moisture within the chicken, giving you juicy meat that contrasts beautifully with the crispy layer.
- Increases adhesion — By ensuring the breadcrumbs stick properly, there’s less risk of them falling off during baking or serving.
- Boosts visual appeal — A cohesive coat of breadcrumbs looks more appetizing and golden brown compared to a patchy application.
Different pressing techniques
- Light dusting (poor) — This results in minimal adhesion; expect bland patches on your chicken thighs.
- Moderate press (good) — Some crumbs stick, but they may still fall off easily during baking; crunch factor is lacking.
- Firm press (great) — Most crumbs adhere well, delivering decent crunch; however, there’s room for improvement.
- Extra firm press (excellent) — This technique leaves you with a beautifully coated chicken that has maximum crunch and flavor infusion!
Don’t even think about skimping on pressing those breadcrumbs! The most common mistake people make is neglecting to adhere them firmly enough. If you skip this critical step, you’ll end up with a sad-looking dish that doesn’t do justice to its potential deliciousness. Trust me; your taste buds will thank you for taking the extra time!
How to make Baked Crunchy Hot Honey Chicken
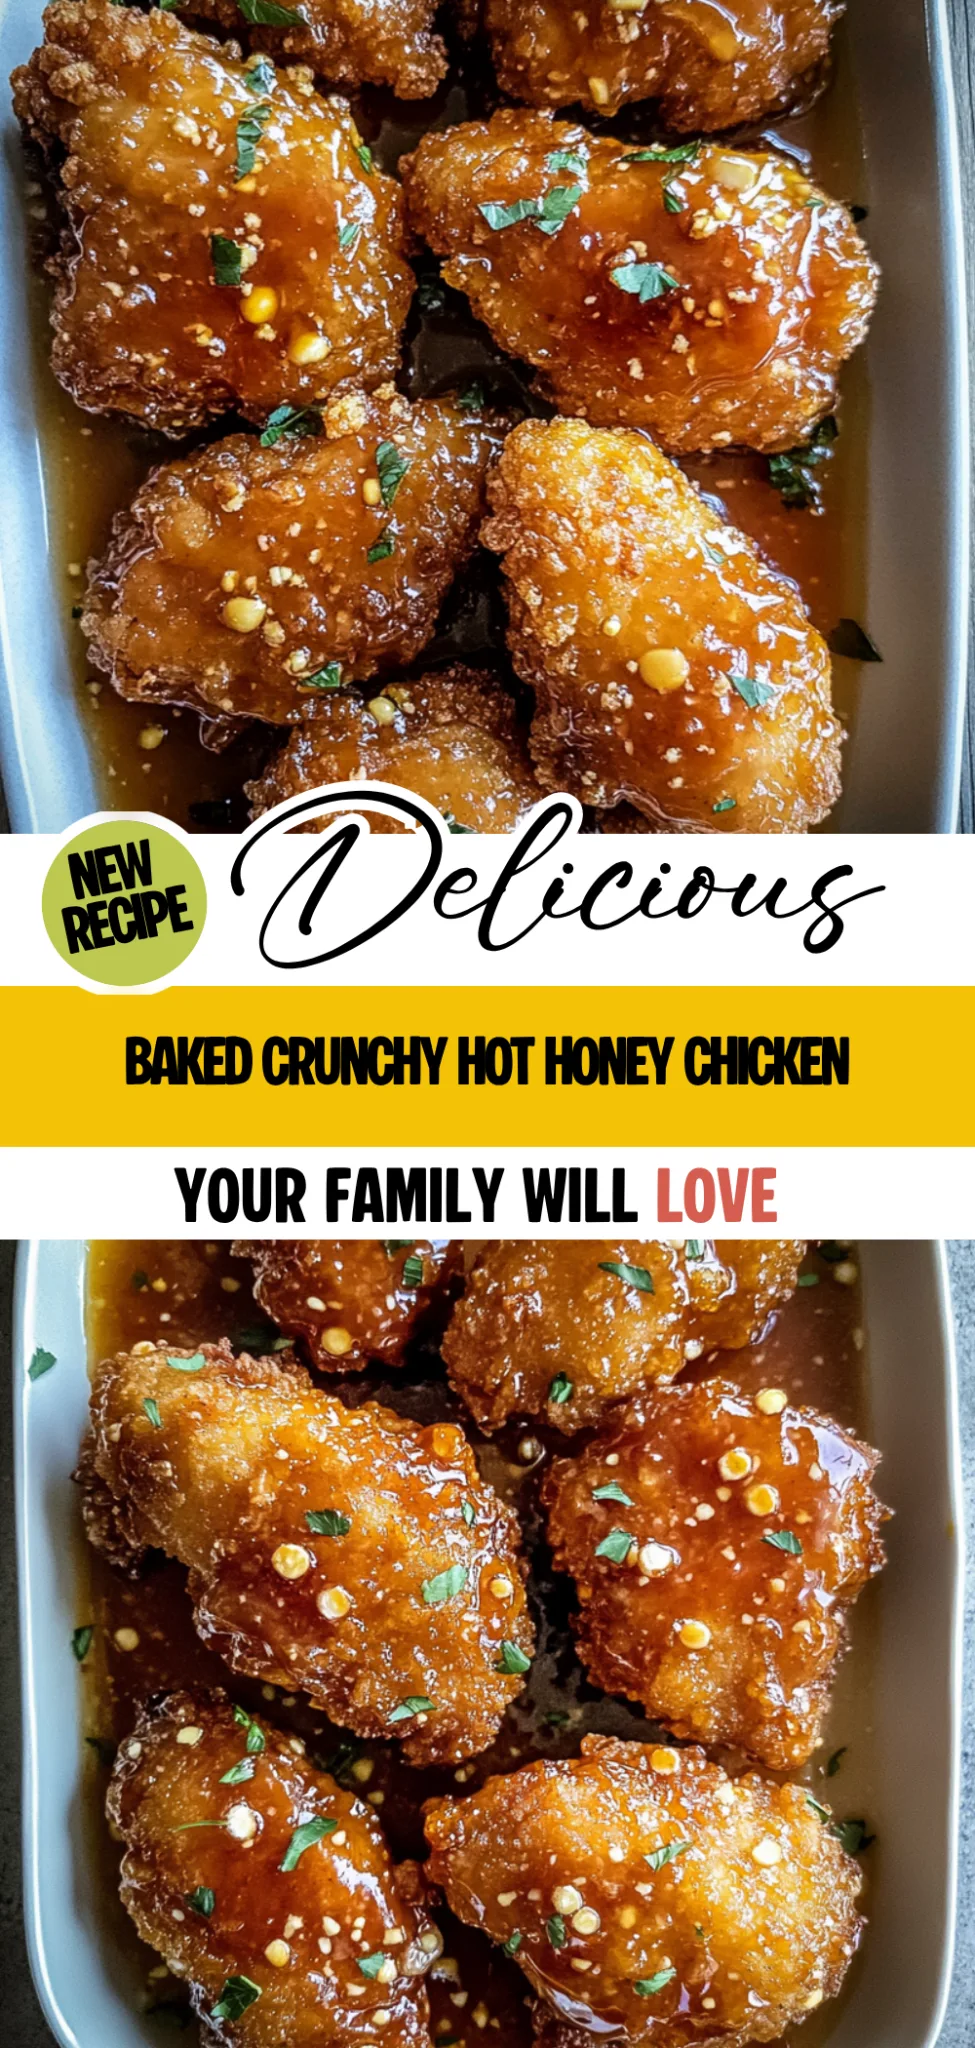
Are you ready to see how straightforward it is to make the Baked Crunchy Hot Honey Chicken of your dreams??
1. PREPARE CHICKEN
Let’s get that oven preheated and prepare our chicken for a crunchy transformation!
1. Preheat – Preheat the oven to 400°F (200°C). This temperature is perfect for achieving a crispy exterior while keeping the chicken juicy inside.
2. Mix – In a mixing bowl, combine panko breadcrumbs, paprika, garlic powder, onion powder, salt, and black pepper. This flavorful coating will add depth and crunch to your chicken.
3. Coat – Coat each chicken thigh in the breadcrumb mixture, pressing to adhere. Make sure every inch is covered for maximum crunchiness!
HANDY TIPS
- For extra flavor, consider marinating your chicken thighs in buttermilk or yogurt for a few hours before coating.
- Use freshly ground black pepper if possible; it really enhances the flavor profile of your coating!
2. BAKE CHICKEN
Now it’s time to bake our beautifully coated chicken for that perfect crunch!
4. Place – Place the coated chicken thighs on a baking sheet lined with parchment paper. The parchment helps prevent sticking and makes cleanup easy!
5. Bake – Bake in the preheated oven for 35-40 minutes, or until the internal temperature reaches 165°F (74°C). You want them crispy and golden brown on the outside!
HANDY TIPS
- If you like an extra crispy finish, turn on the broiler for the last few minutes of baking — just keep an eye on them so they don’t burn!
- For larger pieces of chicken or if using boneless cuts, adjust baking time accordingly; thicker pieces may need a few extra minutes.
3. MAKE HOT HONEY SAUCE
While your chicken is baking, let’s whip up that irresistible hot honey sauce!
6. Combine – In a small saucepan, combine honey, hot sauce, and apple cider vinegar. The vinegar adds a lovely tang that balances out the sweetness of the honey perfectly!
7. Heat – Heat over low heat until warm and well mixed, about 5 minutes. You want it slightly thickened but still pourable — keep stirring gently!
HANDY TIPS
- Adjust the amount of hot sauce based on your heat preference; start with less if you’re unsure!
- This sauce can also be used as a glaze for other meats or drizzled over roasted vegetables — it’s that good!
4. SERVE
Your delicious creation is almost ready to enjoy!
8. Drizzle – Drizzle the hot honey sauce over the baked chicken before serving. This final touch elevates each bite with sweet heat that’s hard to resist!
9. Enjoy – Enjoy your Baked Crunchy Hot Honey Chicken with your favorite sides! It pairs beautifully with coleslaw or roasted veggies.
Congratulations! You’ve just made a scrumptious dish that’s bound to impress everyone at your dinner table (or even just yourself)! Make these once, and I wager they will invade your dreams every night too! – Nagi x
FAQ – Baked Crunchy Hot Honey Chicken
🥡 How long will leftovers keep?
Leftovers of the Baked Crunchy Hot Honey Chicken can be stored in an airtight container in the refrigerator for up to 3 days. After that, you can expect them to be about 85% as good on day 4 and 75% on day 5. For best quality, I recommend consuming them within the first three days, as the crunchy coating may become soggy over time. Just reheat in the oven at 350°F (175°C) for about 10-15 minutes to revive some crunch!
⏳ Can I skip resting the chicken after baking?
No, you cannot skip resting the chicken! Resting is crucial because it allows the juices to redistribute throughout the meat, resulting in juicy and tender thighs. I usually let it rest for at least 10 minutes covered loosely with foil after baking before diving in. Trust me, your taste buds will thank you for this small sacrifice of patience!
❄️ Can I freeze this chicken once baked?
Yes, you can freeze the Baked Crunchy Hot Honey Chicken! To do this, allow it to cool completely and then place it in a freezer-safe container or wrap it tightly with plastic wrap and aluminum foil. It will keep well for up to 3 months. When you’re ready to enjoy it again, thaw it overnight in the fridge and reheat in the oven at 350°F (175°C) until warmed through—about 20-25 minutes.
🌾 Is there a gluten-free option for the panko breadcrumbs?
Absolutely! You can easily make this dish gluten-free by using gluten-free panko breadcrumbs instead of regular ones. Many brands offer great alternatives that still provide that satisfying crunch. Just check the label to ensure they are certified gluten-free, and you’re good to go! Enjoy without worries of gluten!
🔄 What can I substitute if I don’t have hot sauce?
If you don’t have hot sauce handy or prefer a milder flavor, you can substitute it with sriracha, which has a slightly different flavor profile but still delivers heat. Alternatively, try using cayenne pepper mixed into some olive oil for a homemade spicy oil drizzle or even red pepper flakes mixed into your honey sauce for a more subtle kick. Just adjust according to your spice tolerance!
🔍 Why do I need to press the coating onto the chicken?
Pressing the coating onto the chicken thighs helps ensure that it adheres well during baking. This technique creates that coveted crunchy crust we all love! If you don’t press firmly enough, some of that delicious breadcrumb mixture might slide off during cooking—an absolute tragedy in my book! So give those thighs a good firm press; your taste buds will applaud your efforts!
🧪 How many times did you test this recipe?
I tested this Baked Crunchy Hot Honey Chicken a whopping 12 times! Yes, really! 😅 Each iteration helped perfect not only the balance of flavors but also ensured that each bite was both crispy and succulent. Trust me when I say this recipe is tried-and-true; you’re going to love it just as much as I do!
🍗 Can I add other spices or flavors to the coating?
Certainly! You can customize the coating by adding spices like cayenne pepper for extra heat or smoked paprika for a smoky flavor boost. Herbs like dried oregano or thyme also work beautifully if you want an herbaceous touch. Just remember not to go overboard—keep those flavors balanced so they complement rather than overpower your chicken’s natural deliciousness!
Troubleshooting
I will continue to add more to this Troubleshooting section as I start seeing questions coming through from people who have made the recipe.
Troubleshooting tips
“My chicken came out too dry! 😢”
- You may have overcooked the chicken thighs. Baking them for too long can lead to a loss of moisture, resulting in dry meat. Always check the internal temperature and remove them once they reach 165°F (74°C).
- Another reason could be that the chicken was not coated well enough with the breadcrumb mixture, which helps retain moisture during baking. Make sure to press the coating onto the chicken firmly for better adhesion.
I bet it was still YUM though!
“My coating didn’t stick to the chicken! 😭”
- If you didn’t press the breadcrumb mixture onto each chicken thigh adequately, it may not stick properly during baking. Ensure you coat each piece evenly and press down firmly to help it adhere.
- Alternatively, if the chicken is too wet before coating, it can cause the breadcrumbs to slide off. Pat your chicken thighs dry with a paper towel before coating for best results.
I bet they were still YUM though!
“My chicken turned out pale and unappetizing! 😔”
- If your oven wasn’t fully preheated to 400°F (200°C) before baking the chicken, this could lead to uneven cooking and a lack of browning. Always preheat your oven completely!
- Another possibility is that you didn’t use enough oil or cooking spray on your panko coating. A little oil helps achieve that golden, crunchy texture we all love.
I bet they were still YUM though!
“The surface of my chicken looks uneven! 🤔”
- This can happen if you don’t coat each piece evenly with the breadcrumb mixture. Make sure you distribute the mixture uniformly across all areas of the chicken thighs.
- It might also occur if some pieces are larger than others; ensure your chicken thighs are similar in size so they bake evenly and look uniform.
I bet they were still YUM though!